Help Center Getting started
Getting started: the setup tour
The setup tour that opens when you first sign in: what each screen asks for, and what to do next.
The first time you sign in, ChiroApp opens a short setup tour. It fills in the basics of your practice; you can change every answer later in Setup.
Human practice
The tour opens by itself the first time you sign in. To open it again later, open Help & Support in the menu and press Restart Setup Tour.
On a phone On a phone, tap the menu button (three lines) at the top left first. Help & Support is near the bottom of the menu.
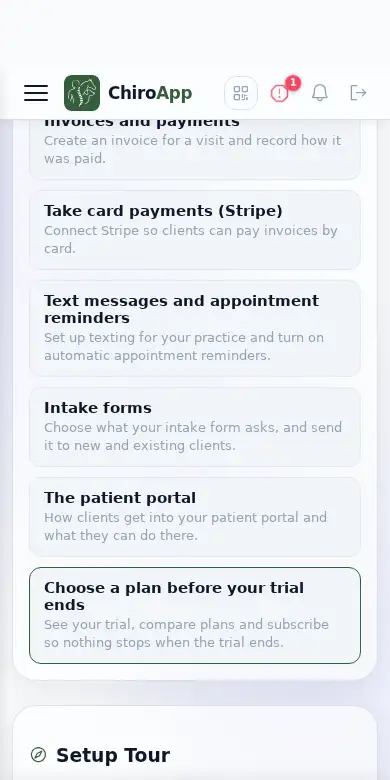
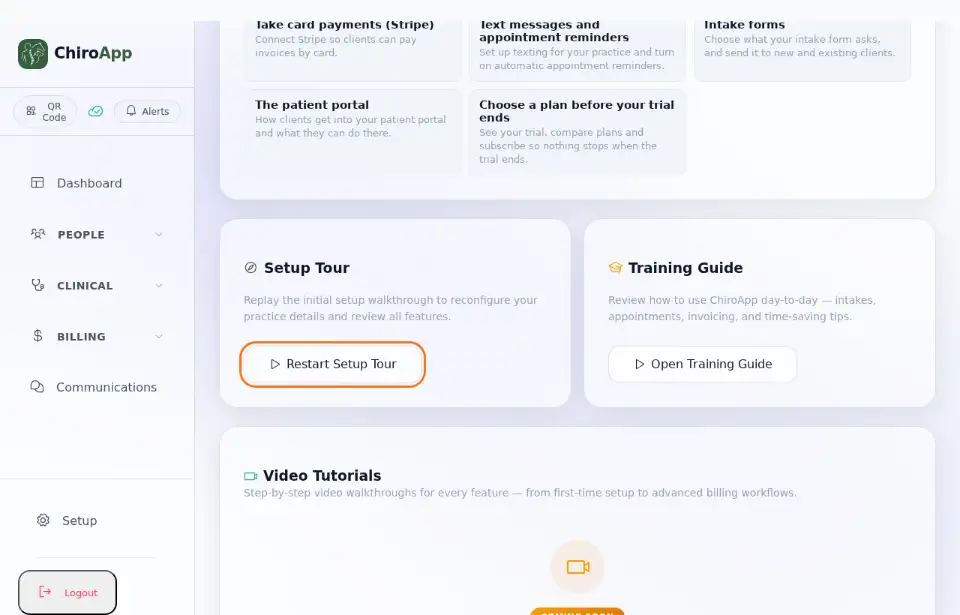
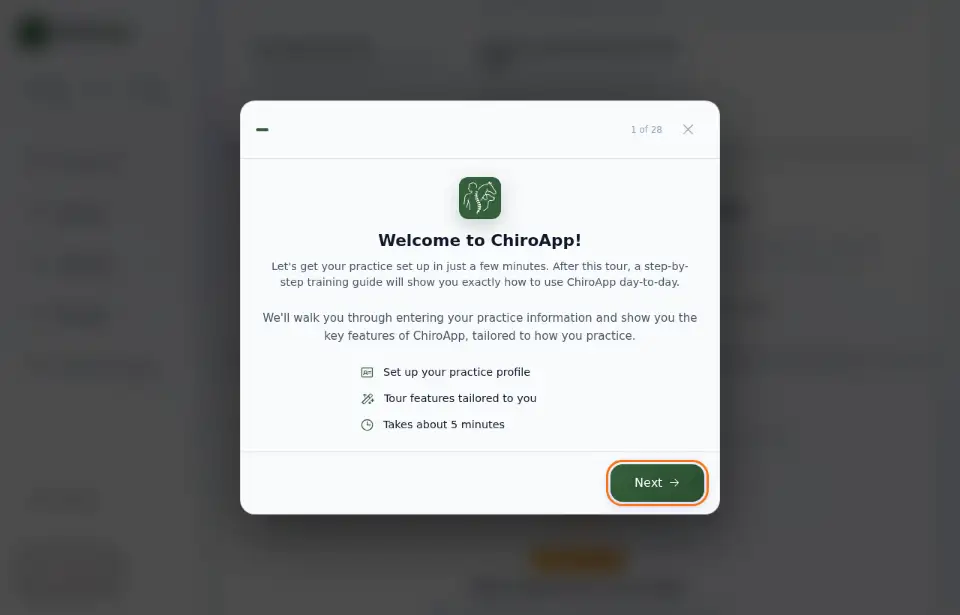
On Welcome to ChiroApp!, press Next.
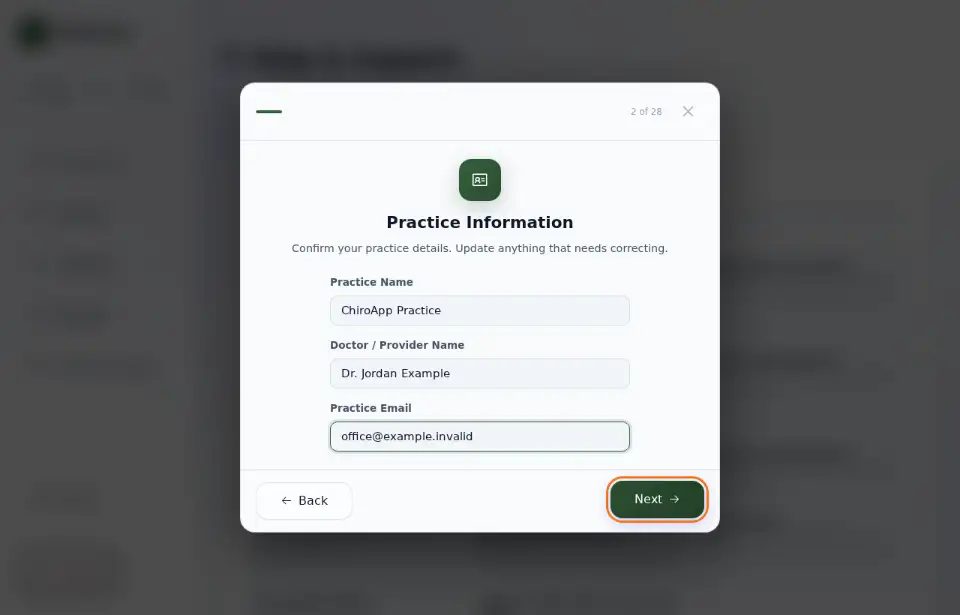
Under Practice Information, check Practice Name and fill in Doctor / Provider Name and Practice Email. Press Next.
Under Areas of Practice, choose how you see patients: Clinic / Office Visits, Mobile / House Calls or both. Press Next.
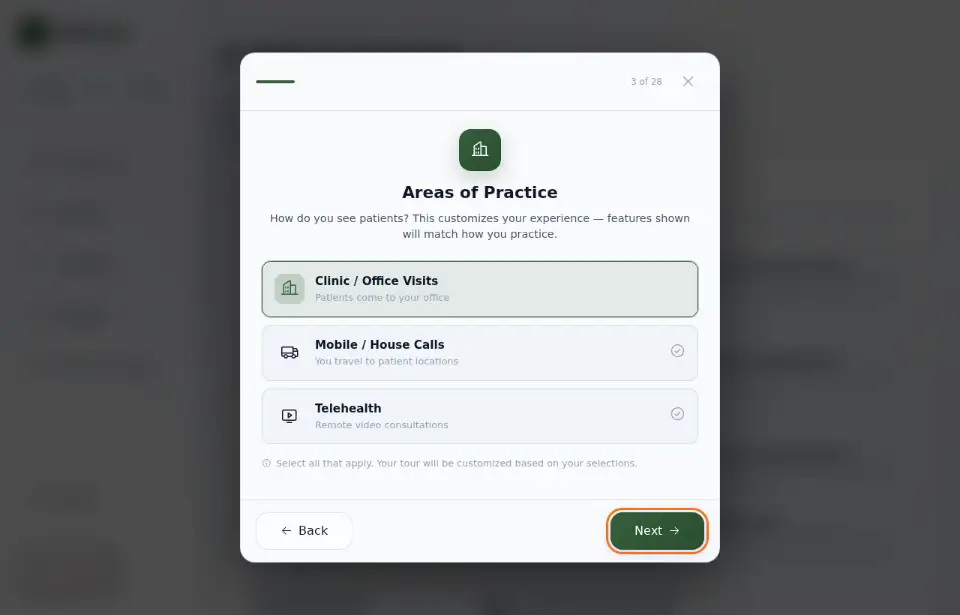
Under Species You Treat, choose Human. Press Next.
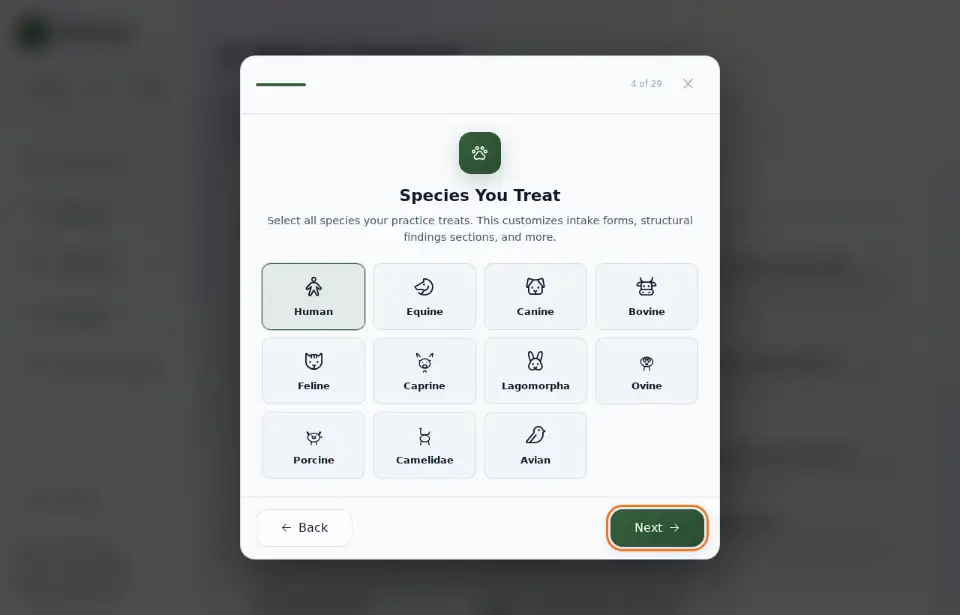
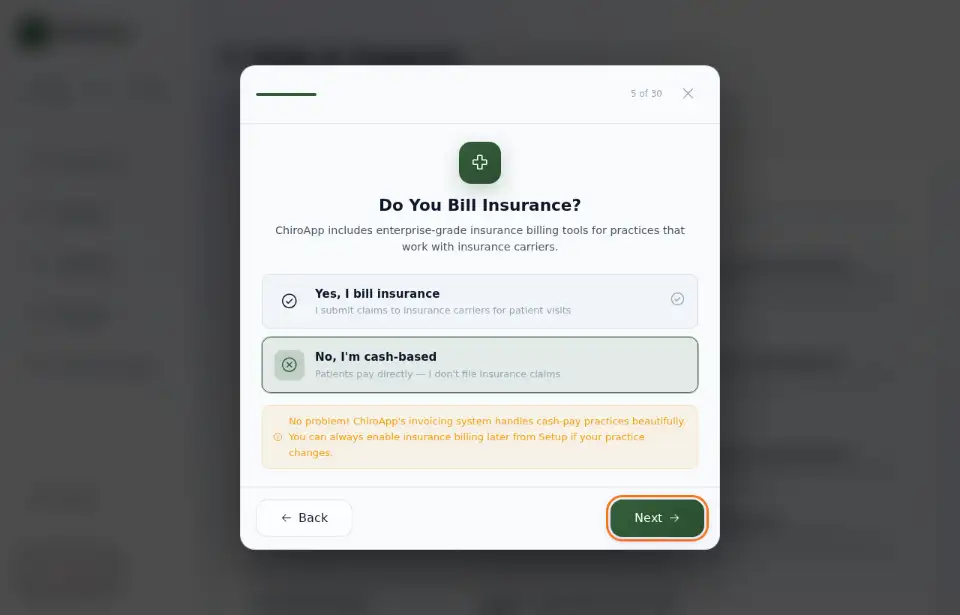
Under Do You Bill Insurance?, choose Yes, I bill insurance or No, I'm cash-based. Press Next.
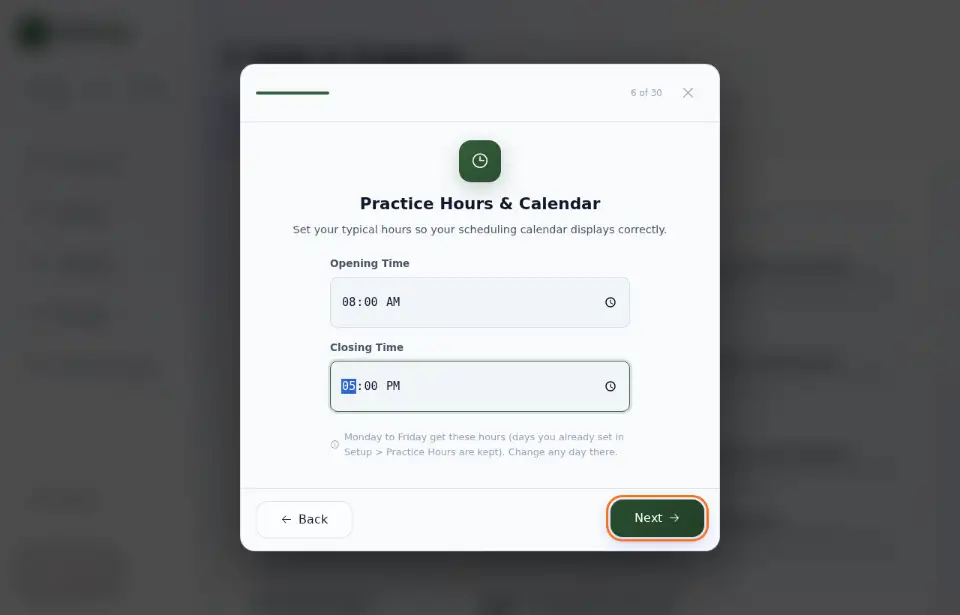
Under Practice Hours & Calendar, set the Opening Time and the Closing Time. Press Next.
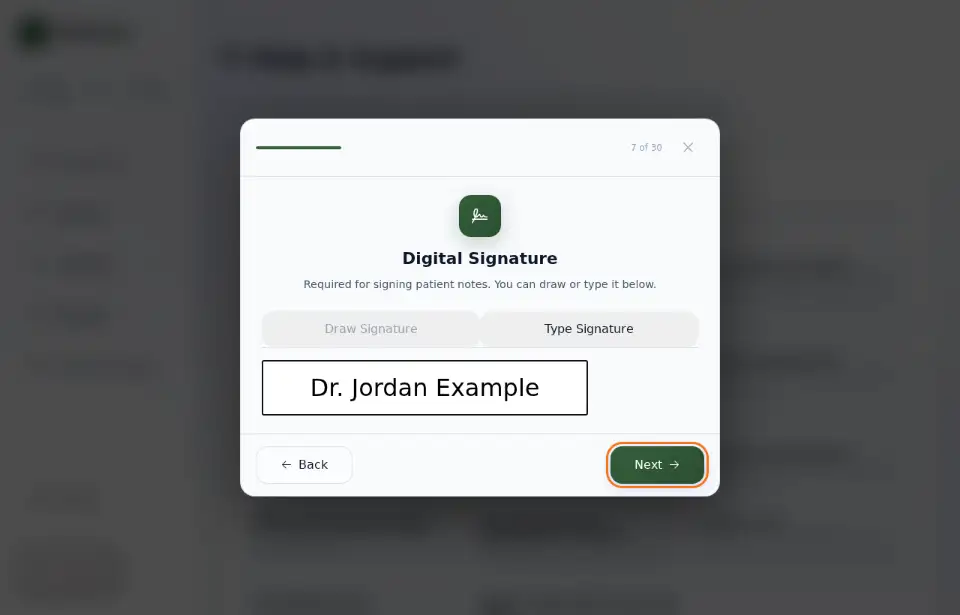
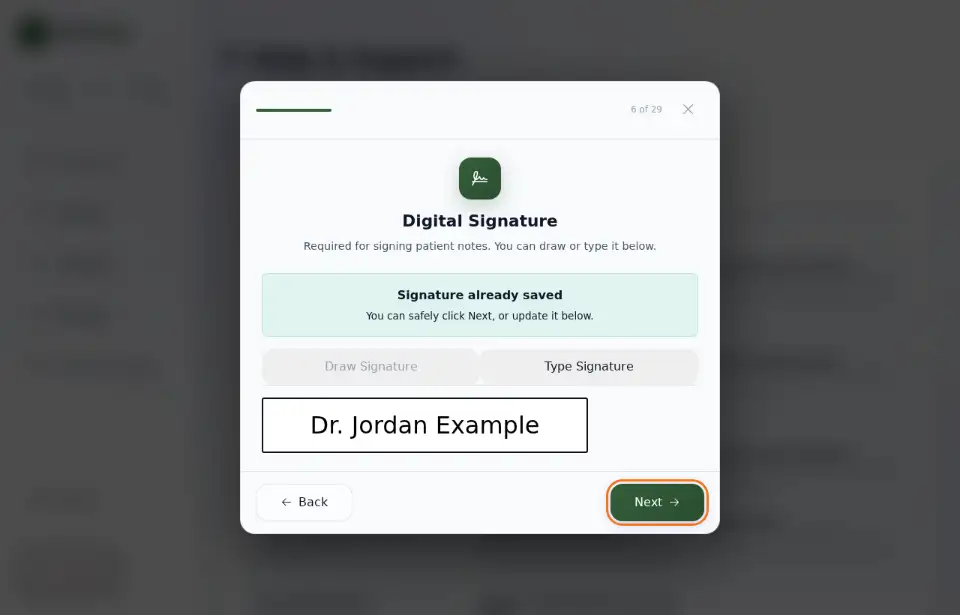
Under Digital Signature, choose Draw Signature or Type Signature and sign. You need a signature to sign visit notes. Press Next.
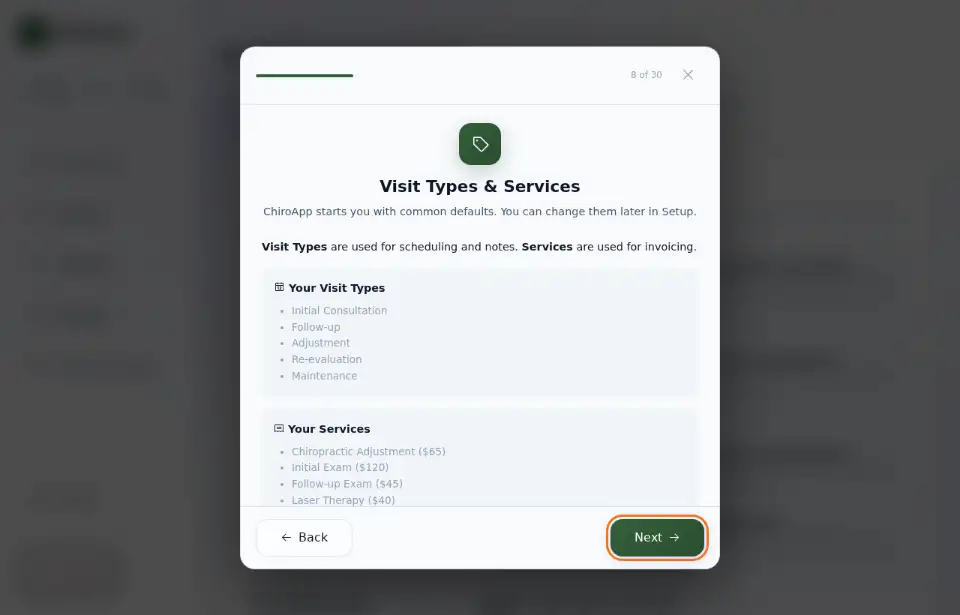
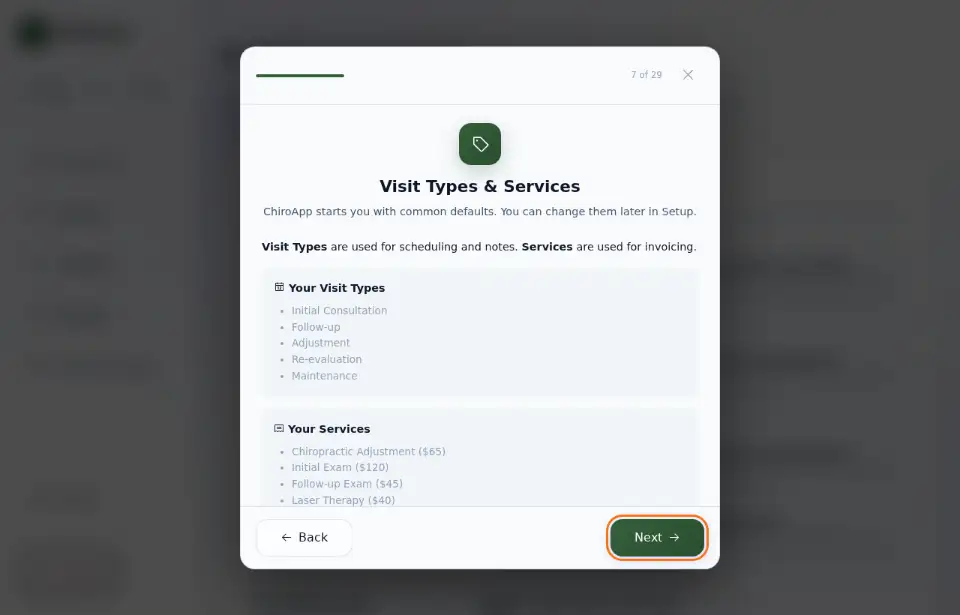
Visit Types & Services shows the visit types (for scheduling and notes) and services with prices (for invoices) that ChiroApp creates for you when the tour ends. Press Next; you can change them later (see Services, prices and visit types).
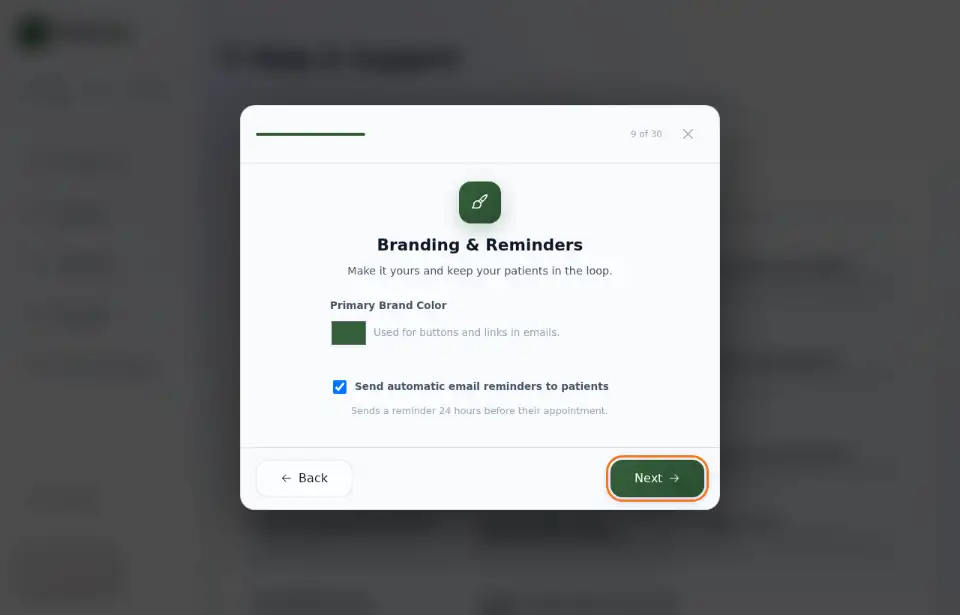
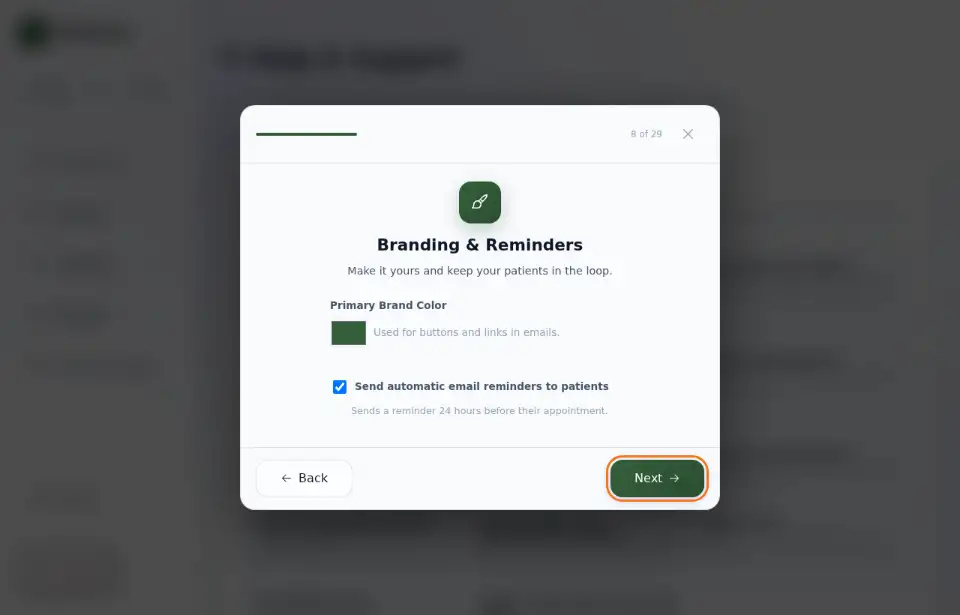
Under Branding & Reminders, pick your Primary Brand Color (used in your emails) and choose whether to Send automatic email reminders to patients. Press Next.
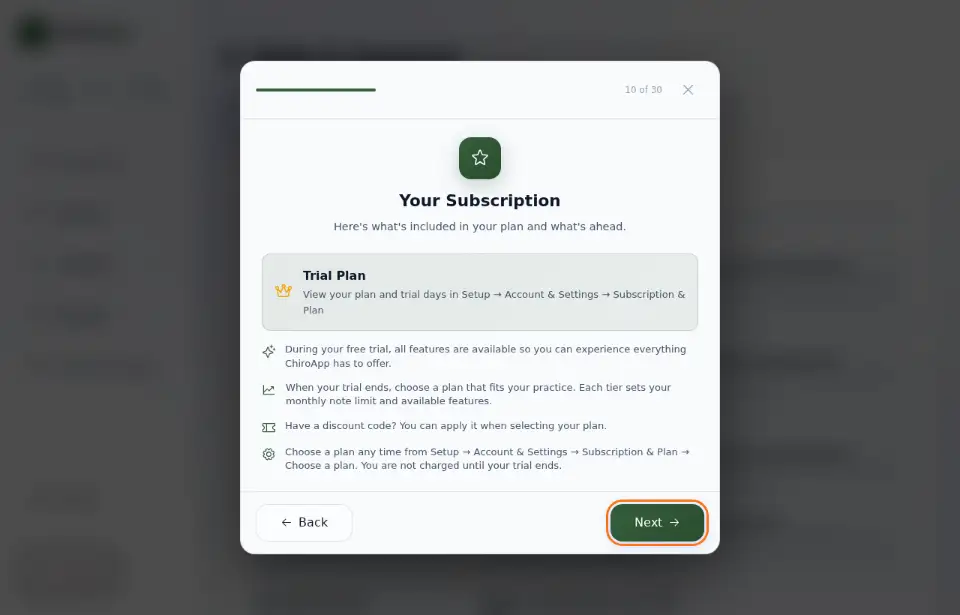
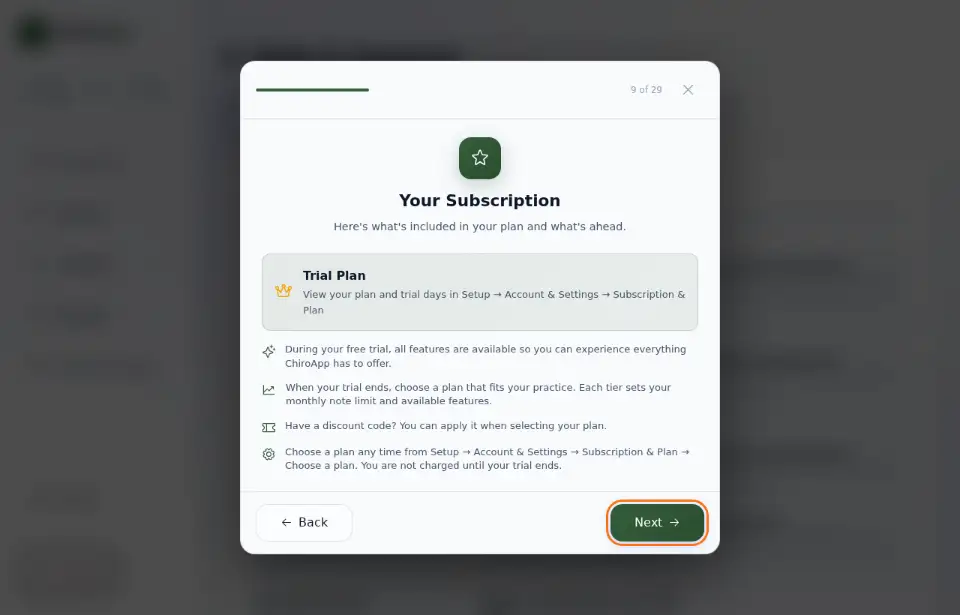
Your Subscription explains your free trial. Press Next.
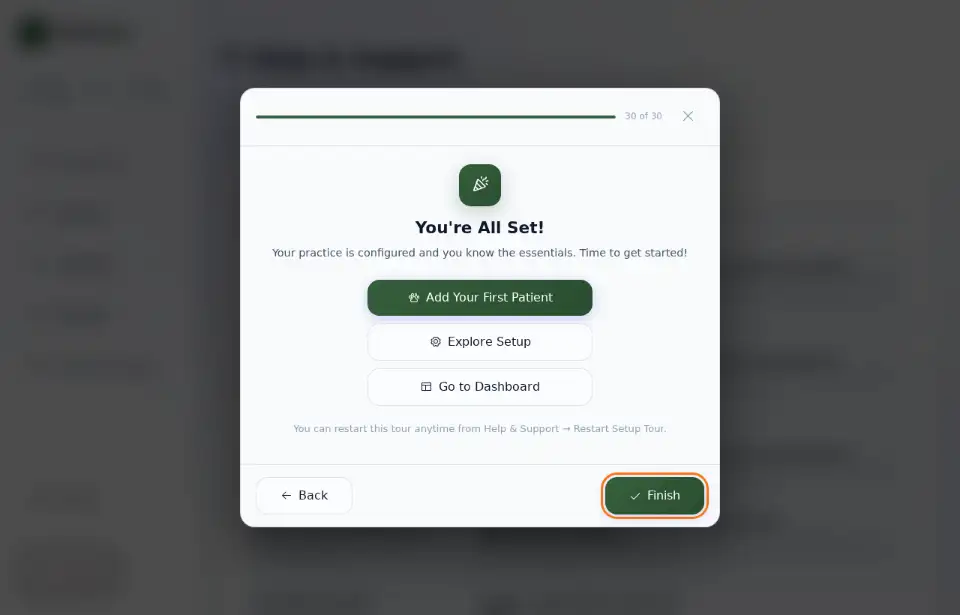
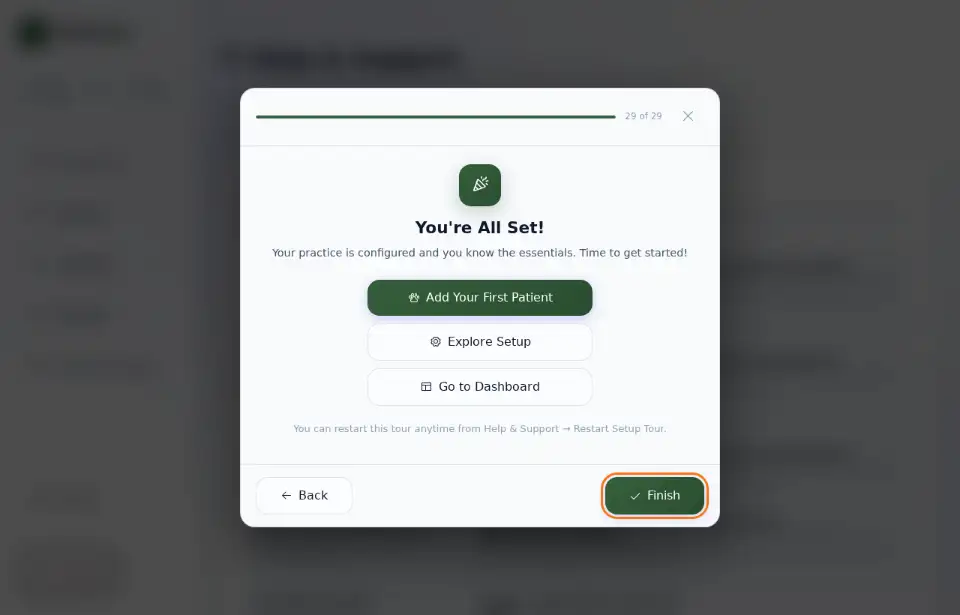
The rest of the tour shows what ChiroApp can do and how to use it day to day. Press Next on each screen (or Back to go back). The last screen offers Add Your First Patient, Explore Setup and Go to Dashboard; press Finish to close the tour.
Animal practice
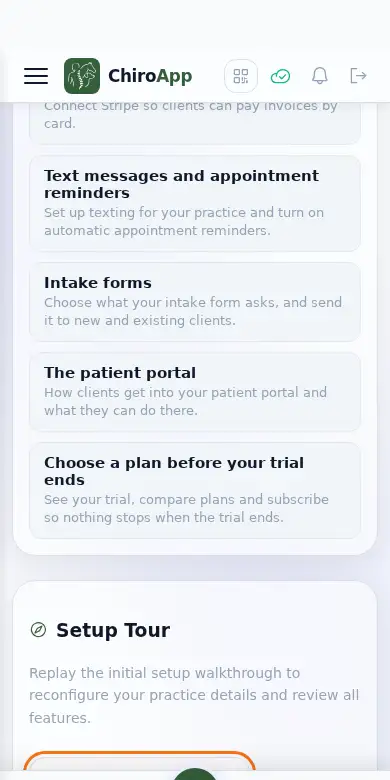
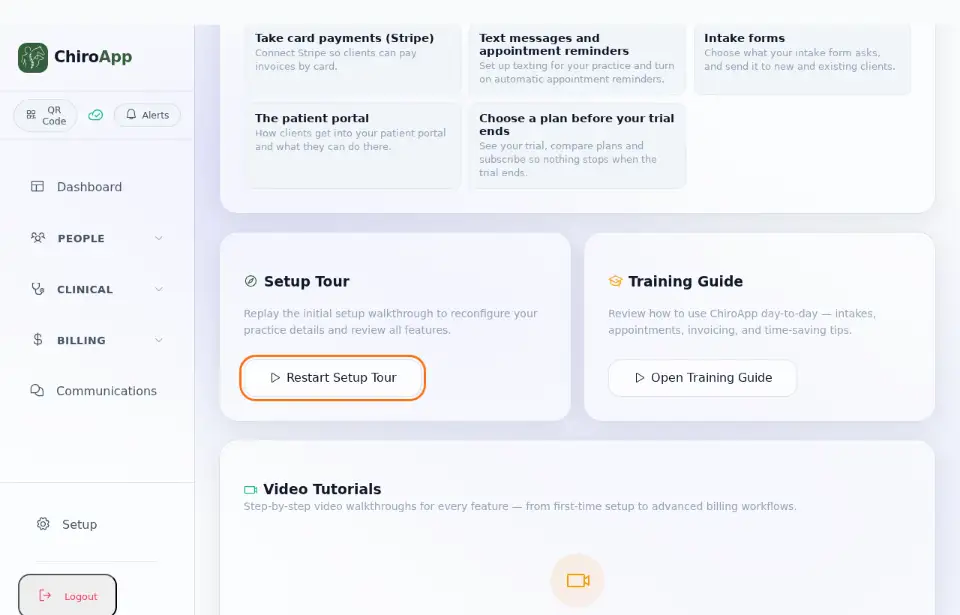
The tour opens by itself the first time you sign in. To open it again later, open Help & Support in the menu and press Restart Setup Tour.
On a phone On a phone, tap the menu button (three lines) at the top left first. Help & Support is near the bottom of the menu.
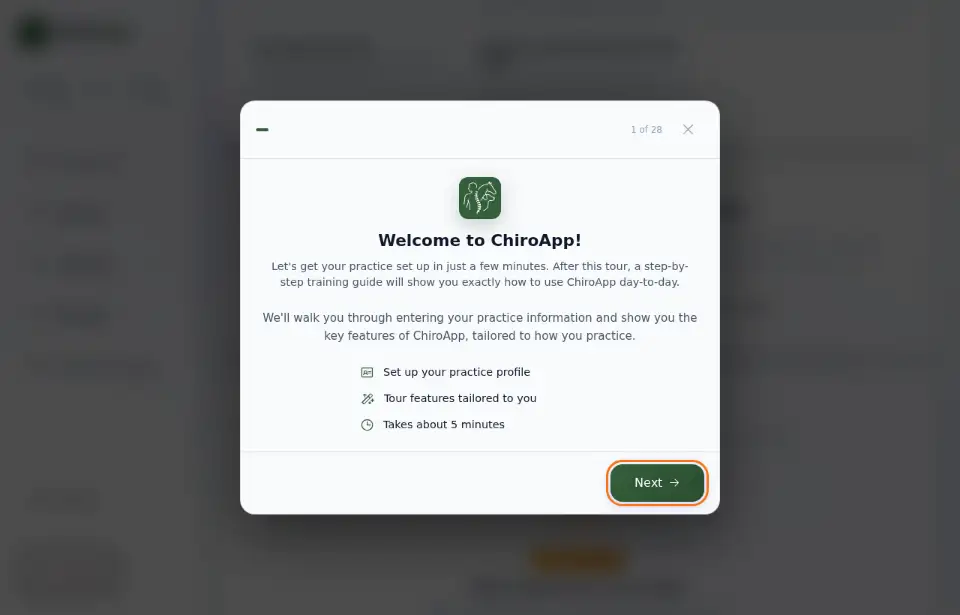
On Welcome to ChiroApp!, press Next.
Under Practice Information, check Practice Name and fill in Doctor / Provider Name and Practice Email. Press Next.
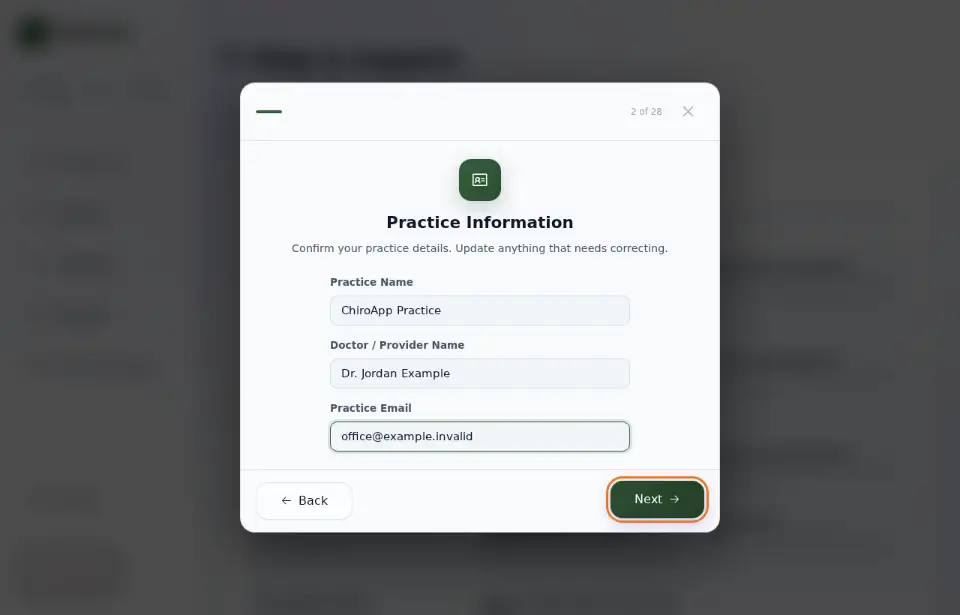
Under Areas of Practice, choose how you see patients: Clinic / Office Visits, Mobile / House Calls or both. Press Next.
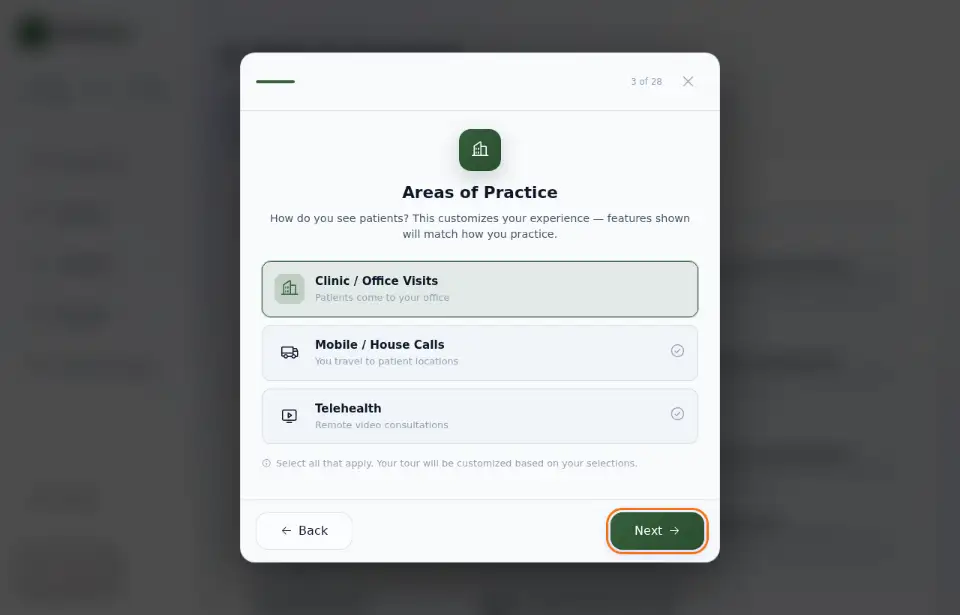
Under Species You Treat, choose every species you treat (for example Canine and Equine). Press Next.
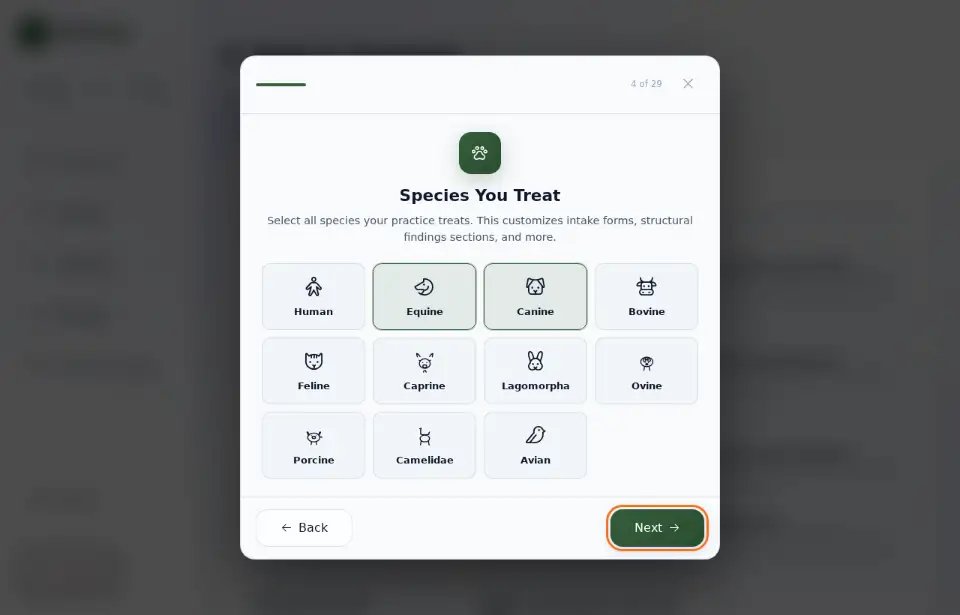
Under Practice Hours & Calendar, set the Opening Time and the Closing Time. Press Next.
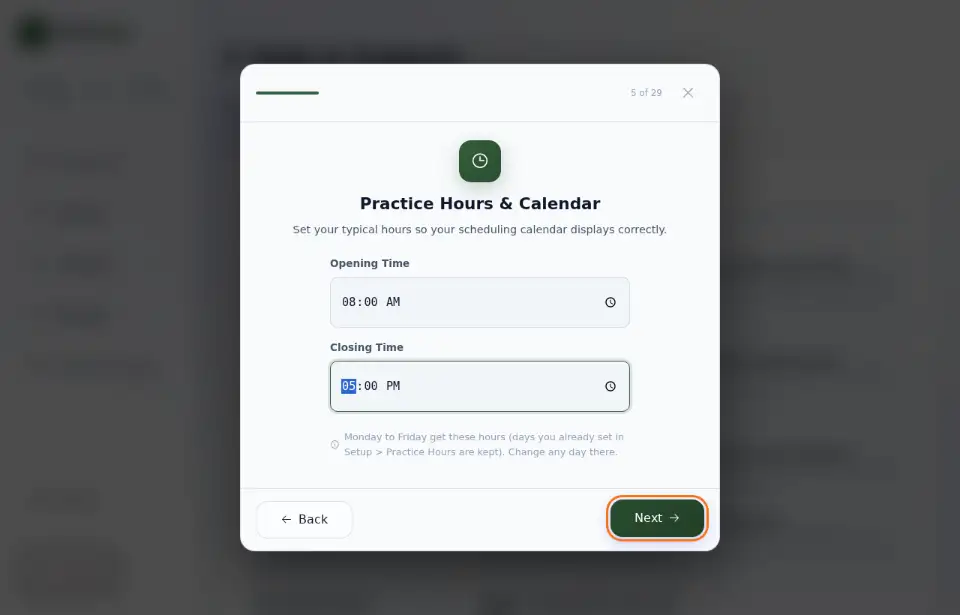
Under Digital Signature, choose Draw Signature or Type Signature and sign. You need a signature to sign visit notes. Press Next.
Visit Types & Services shows the visit types (for scheduling and notes) and services with prices (for invoices) that ChiroApp creates for you when the tour ends. Press Next; you can change them later (see Services, prices and visit types).
Under Branding & Reminders, pick your Primary Brand Color (used in your emails) and choose whether to Send automatic email reminders to patients. Press Next.
Your Subscription explains your free trial. Press Next.
The rest of the tour shows what ChiroApp can do and how to use it day to day. Press Next on each screen (or Back to go back). The last screen offers Add Your First Patient, Explore Setup and Go to Dashboard; press Finish to close the tour.
Next steps: finish your practice profile (Set up your practice), invite your team (Add staff and providers), check your services and prices (Services, prices and visit types), then add your first patient (Add a patient) and book them in (Book an appointment).