Help Center Getting started
Set up your practice
Fill in your practice profile in Setup > Practice Setup: practice information, hours, signature, consents and email branding.
Practice Setup is the first category on the Setup page. Each part is a card with its own Save button: save each card before you move on to the next one.
In the menu, open Setup.
On a phone On a phone, tap the menu button (three lines) at the top left first; Setup is near the bottom of the menu.
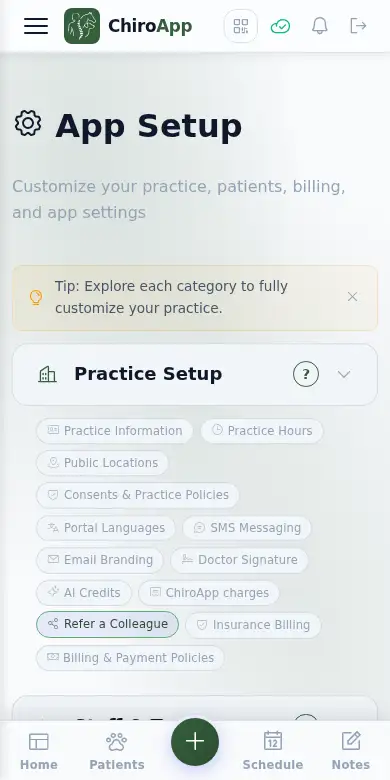
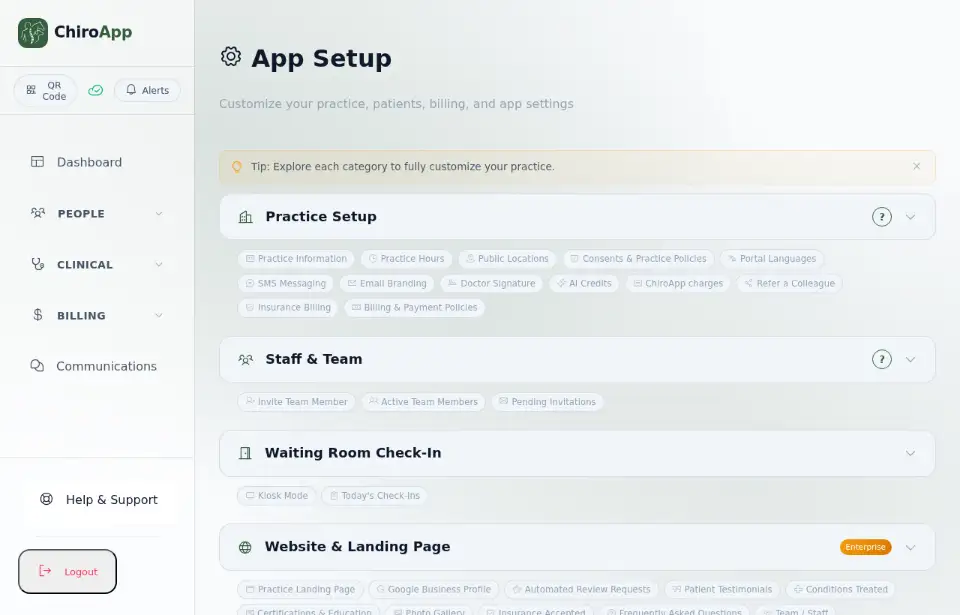
Press Practice Setup to open it. It holds the parts of your practice profile: Practice Information, Practice Hours, Consents & Practice Policies, Email Branding, Doctor Signature and more.
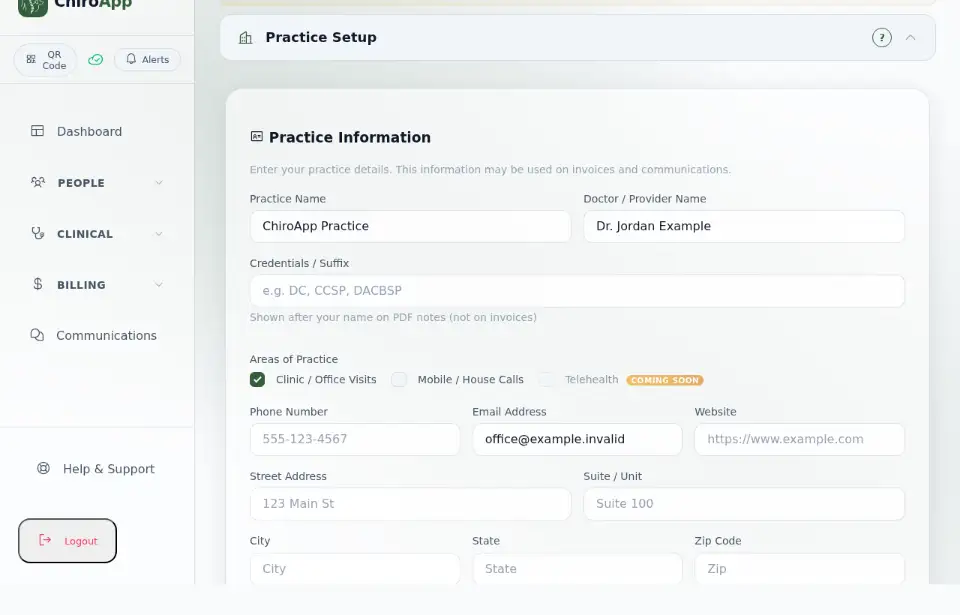
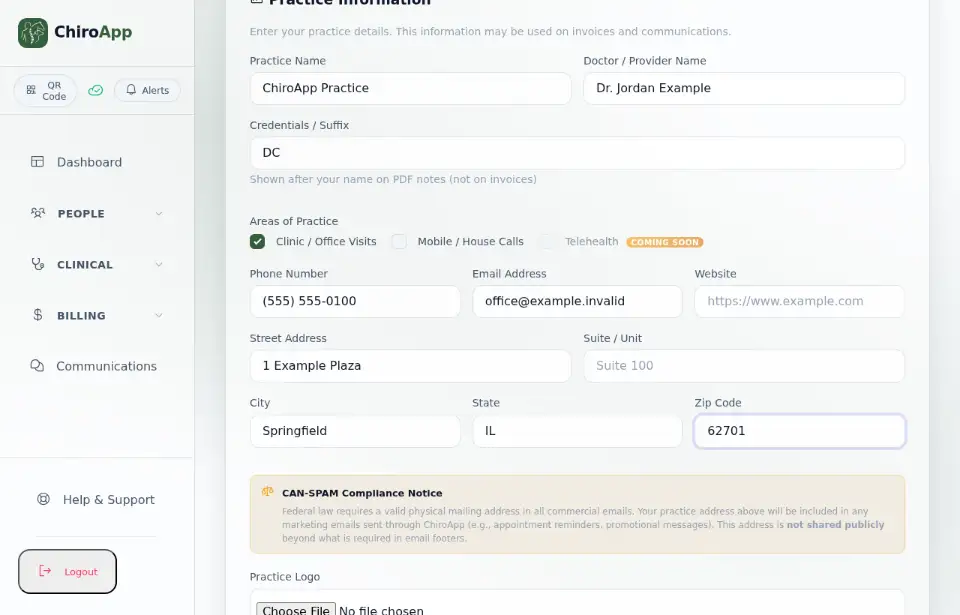
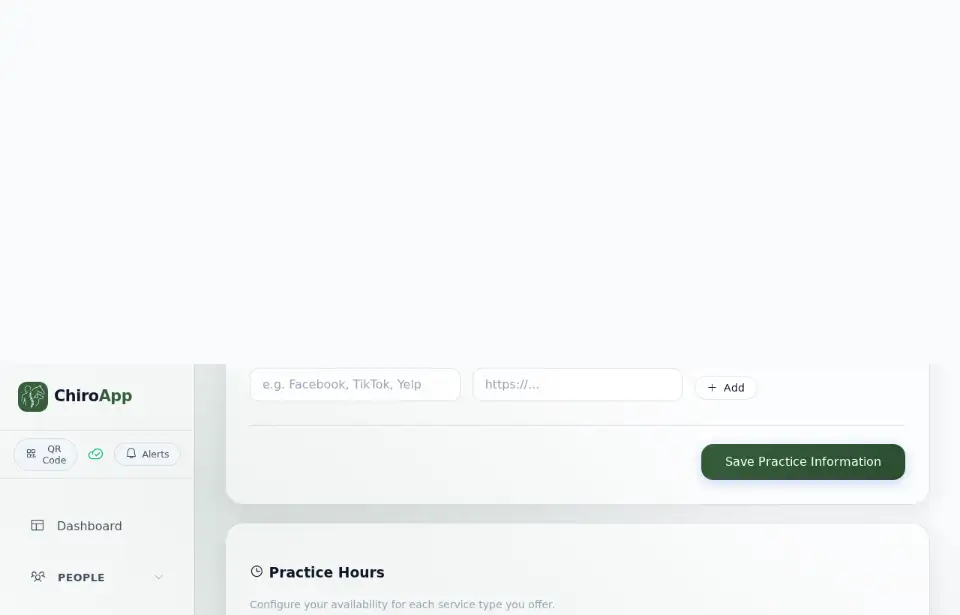
In Practice Information, check Practice Name and fill in Doctor / Provider Name, Credentials / Suffix, Phone Number, Email Address and the practice address (Street Address, City, State, Zip Code). Under Areas of Practice, tick Clinic / Office Visits, Mobile / House Calls or both. Press Save Practice Information at the bottom of the card.
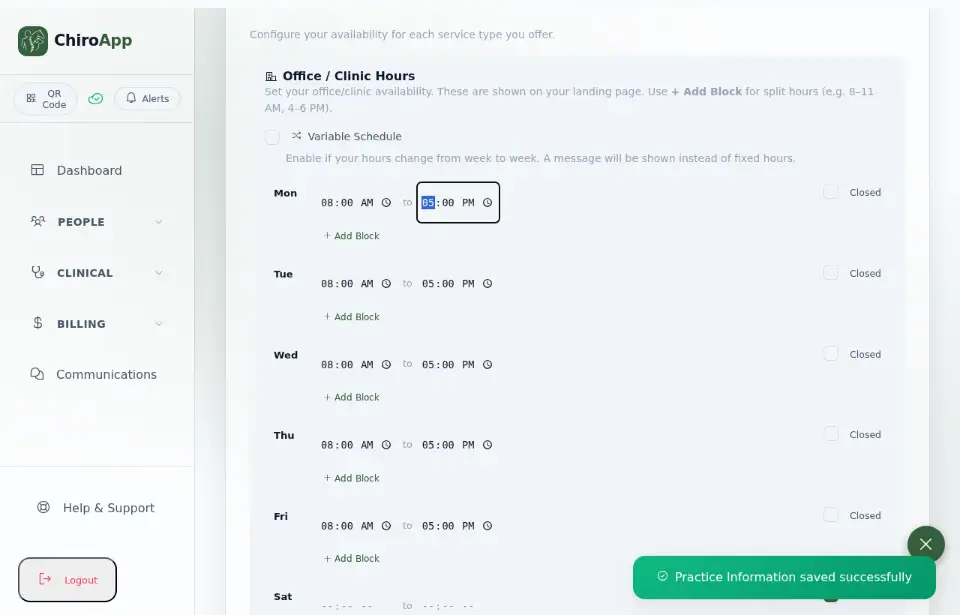
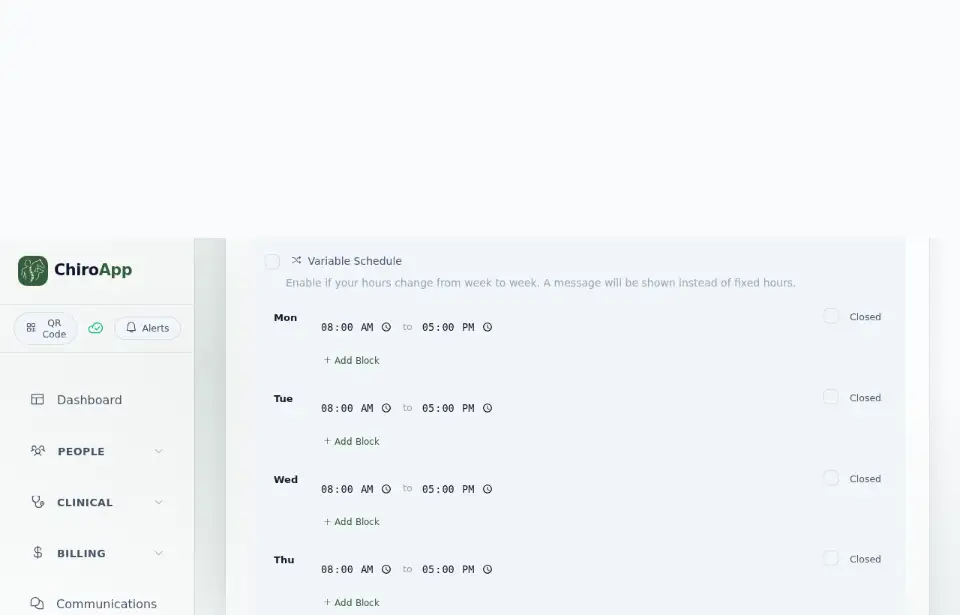
In Practice Hours, under Office / Clinic Hours, each day shows its opening and closing time, or Closed. If you set your hours in the setup tour, Monday to Friday are already filled in and the other days are Closed. For each day you work, untick Closed and set the start and end time (use Add Block for split hours, for example 8 to 11 and 2 to 6). Press Save Office / Clinic Hours.
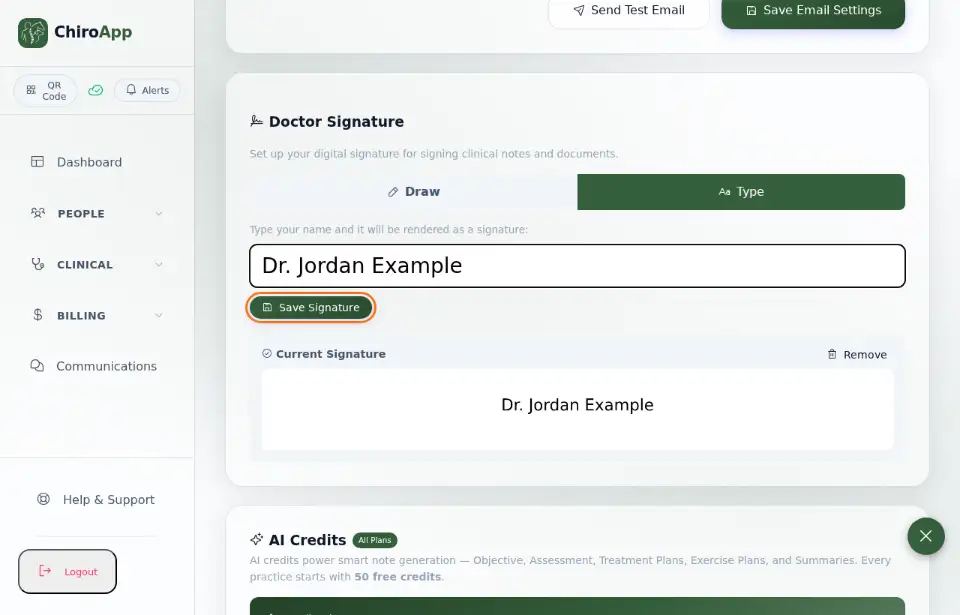
In Doctor Signature, choose Draw (sign with your finger, a stylus or the mouse) or Type (type your name). Press Save Signature. You need a saved signature before you can sign visit notes.
In Consents & Practice Policies, check the Consent to Treatment Statement: it is the required consent tick box at the end of every intake. Press Add Policy to add your own policies (payment, cancellation and so on); for each one you choose whether it shows on the intake form, on appointment requests and on your landing page. Press Save Consents & Policies.
In Email Branding, set Your Practice Name (Email "From" Name) and the Reply-To Address (where client replies go). Under Email Design you can pick colors and what the footer shows; the Live Preview shows the result. Press Save Email Settings.
The same category also holds SMS Messaging and SMS Registration (see Text reminders), Portal Languages, AI Credits, Insurance Billing and Billing & Payment Policies.