Help Center Getting started
Book an appointment
Book a visit for a patient from Clinical > Appointments.
Appointments are booked from Clinical > Appointments with New Appointment. You need the patient in ChiroApp first (see Add a patient).
Human practice
In the menu, open Clinical, then Appointments.
On a phone On a phone, tap the menu button (three lines) at the top left first.
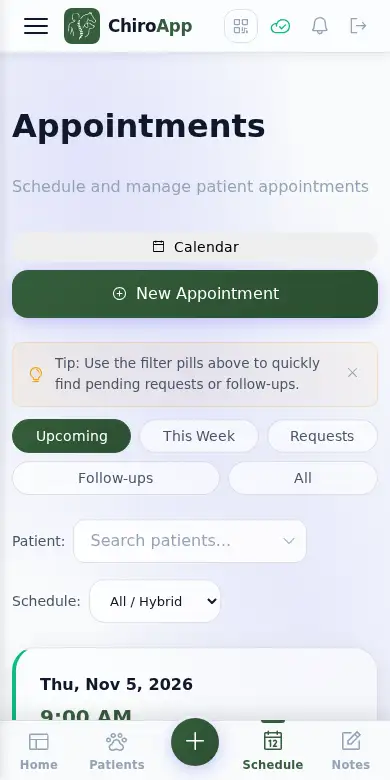
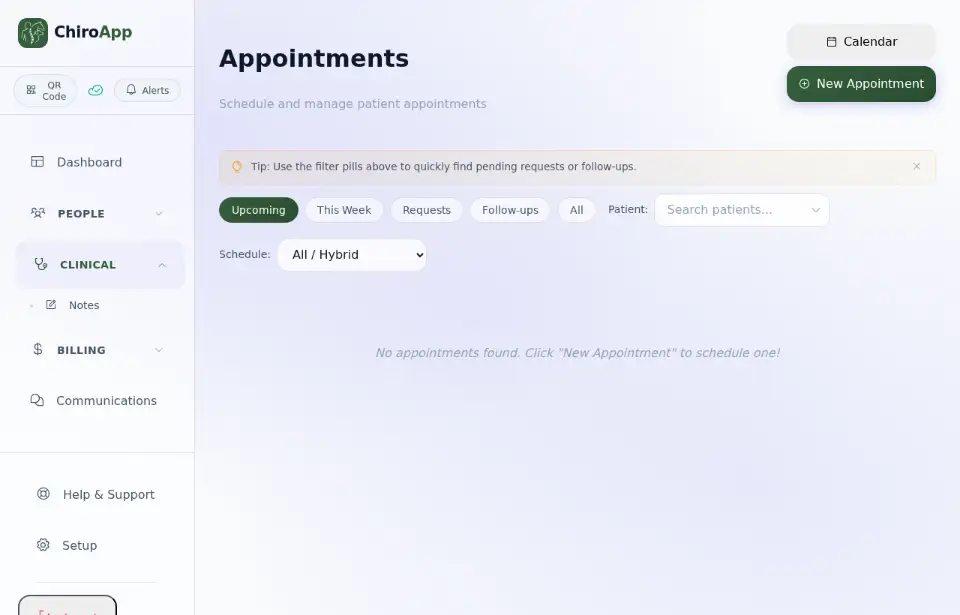
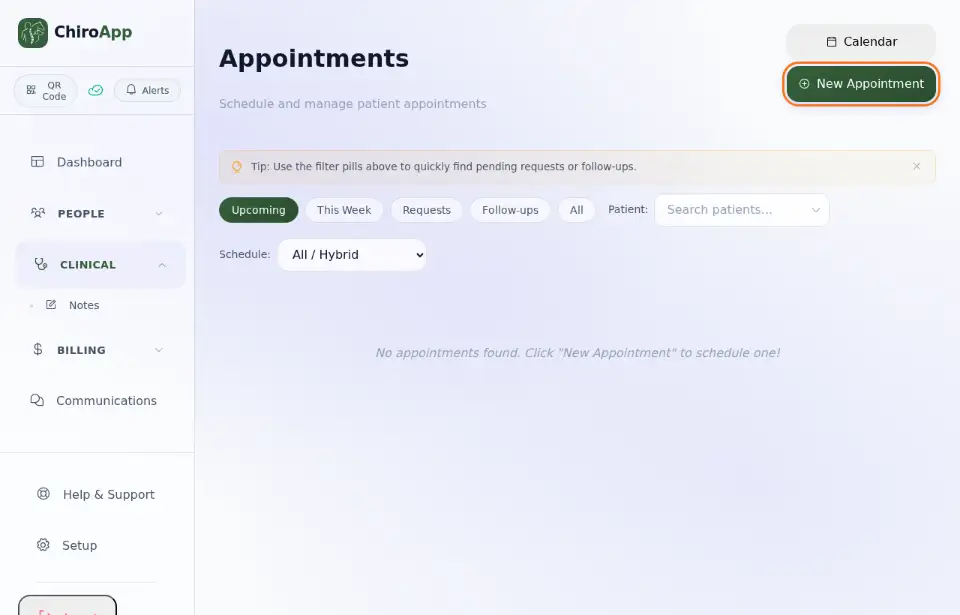
Press New Appointment.
Under Client, type the first letters of the patient's name and choose them from the list. Under Patient(s), choose the patient.
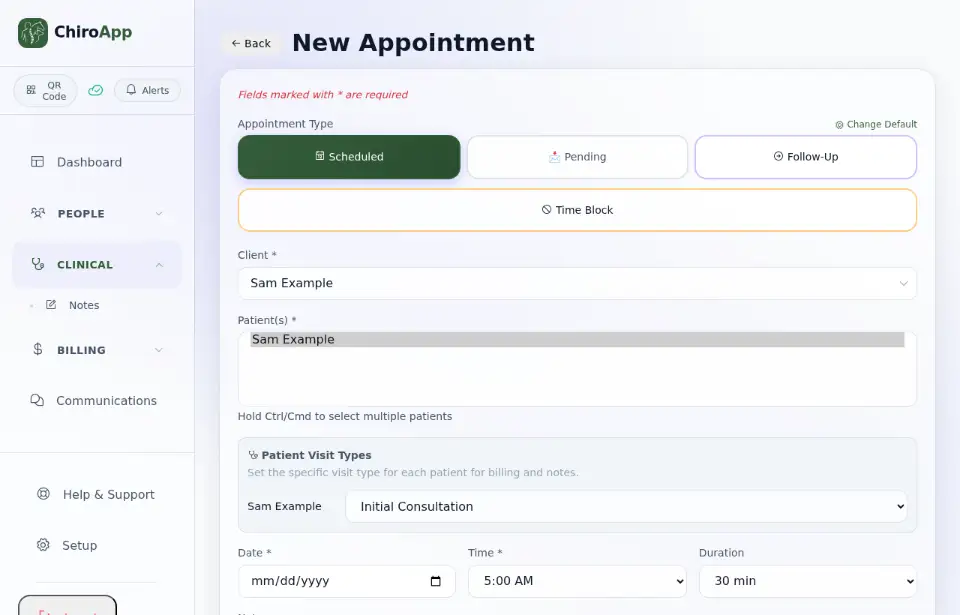
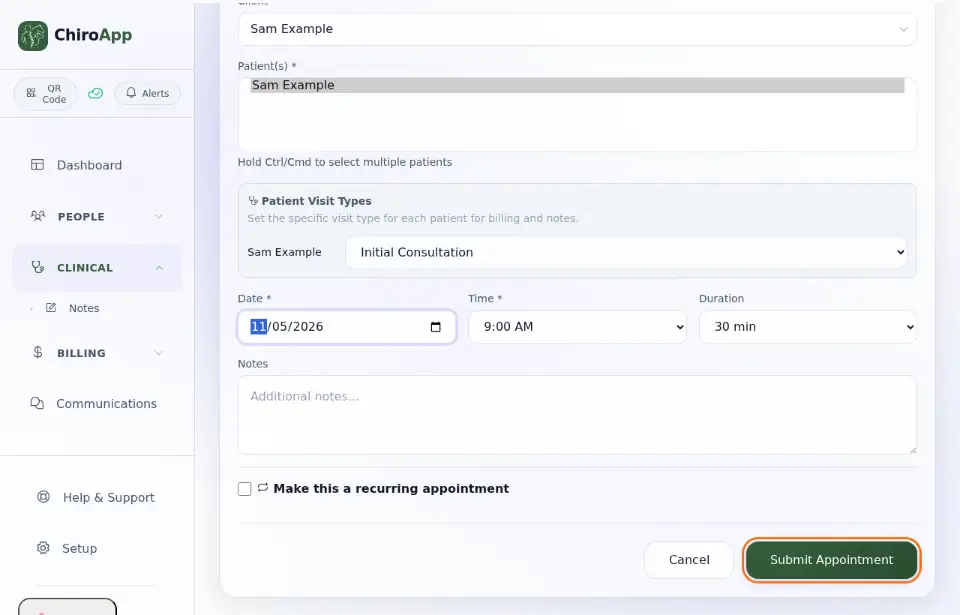
Under Patient Visit Types, choose the visit type (for example Initial Consultation). Leave Appointment Type on Scheduled. Pick the Date and Time, and change the Duration if needed. (If your practice offers both clinic and mobile visits, also choose where the visit happens.) Press Submit Appointment.
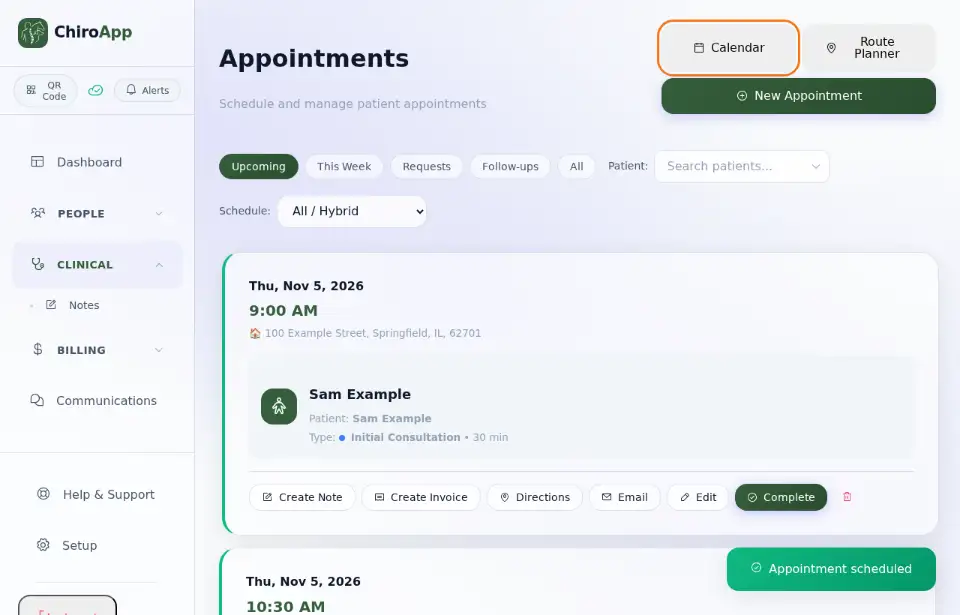
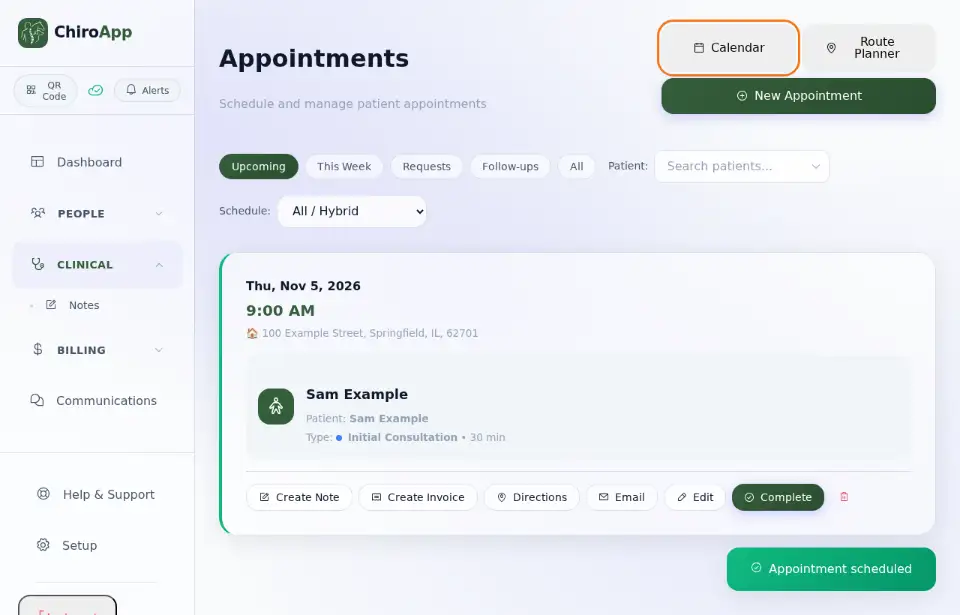
ChiroApp shows Appointment scheduled. The visit is now in the list under Upcoming, with buttons to Create Note, Create Invoice and Complete when the visit is done. Press Calendar to see it on the calendar.
Animal practice
In the menu, open Clinical, then Appointments.
On a phone On a phone, tap the menu button (three lines) at the top left first.
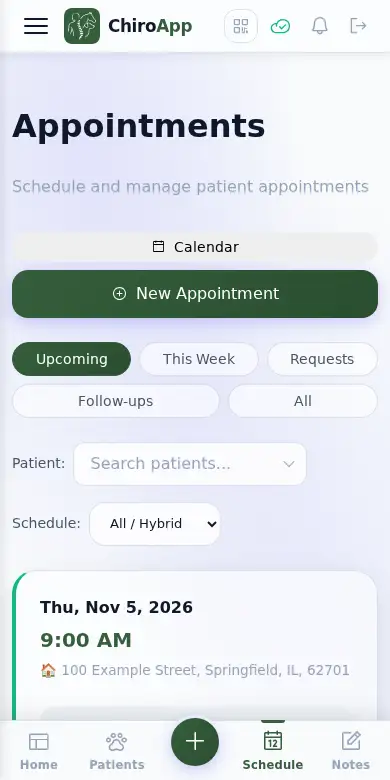
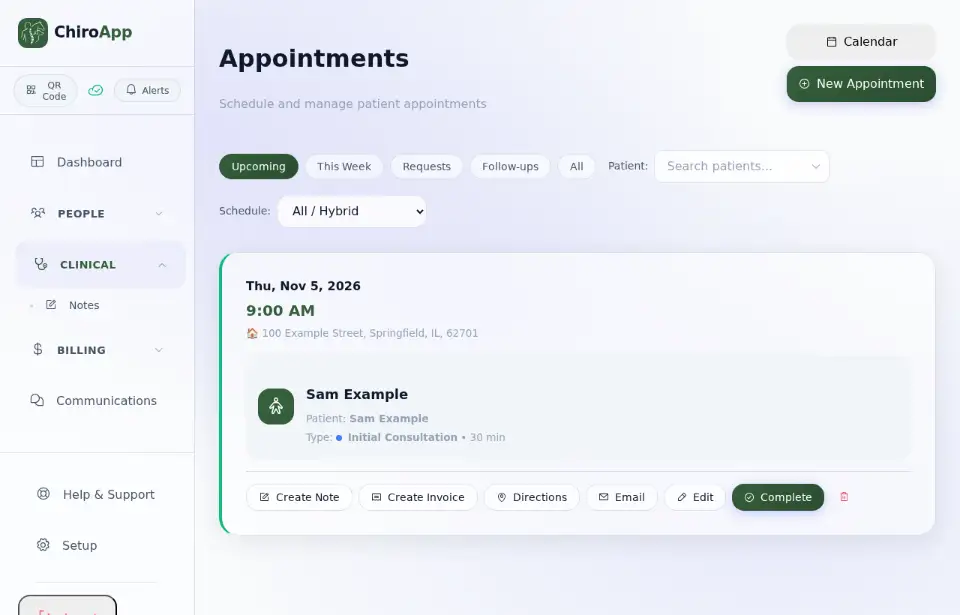
Press New Appointment.
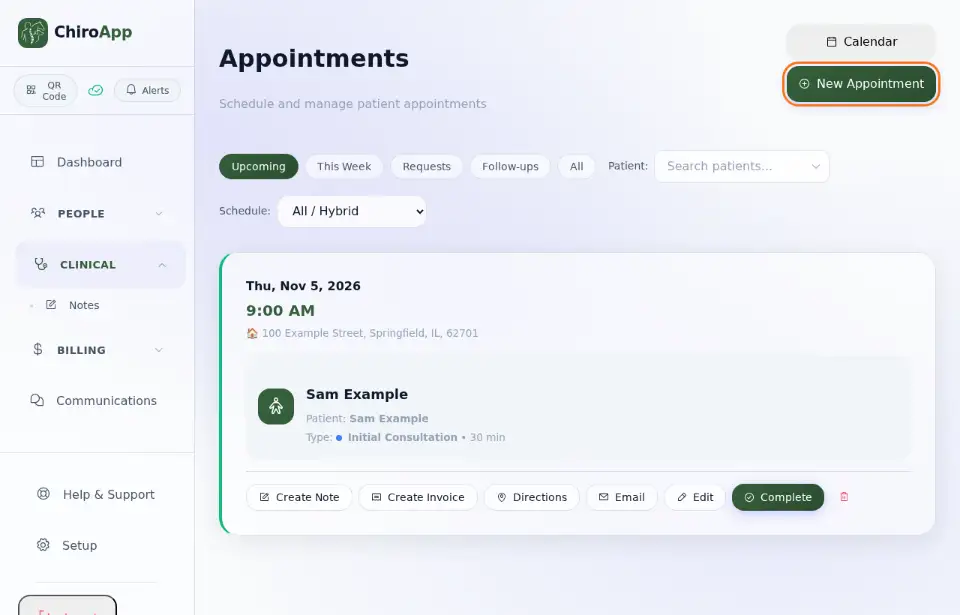
Under Client, type the first letters of the owner's name and choose them from the list. Under Patient(s), choose the animal (hold Ctrl or Cmd to book several animals of the same owner at once).
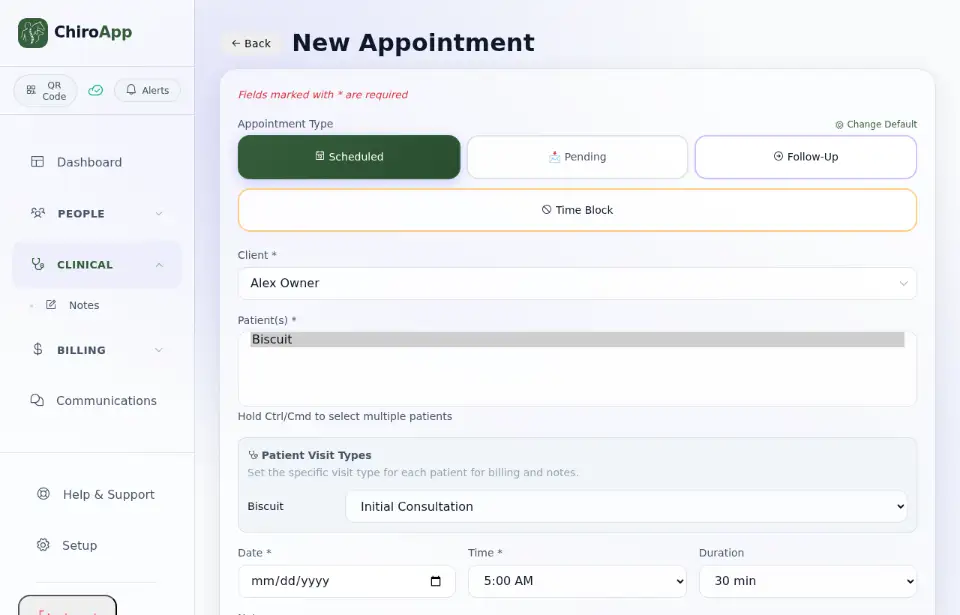
Under Patient Visit Types, choose the visit type (for example Initial Consultation). Leave Appointment Type on Scheduled. Pick the Date and Time, and change the Duration if needed. (If your practice offers both clinic and mobile visits, also choose where the visit happens.) Press Submit Appointment.
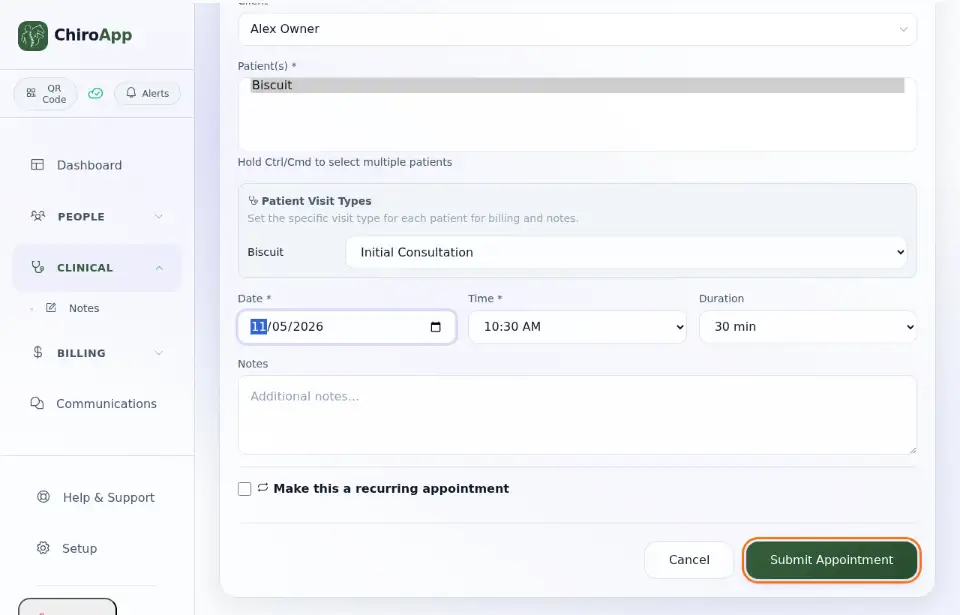
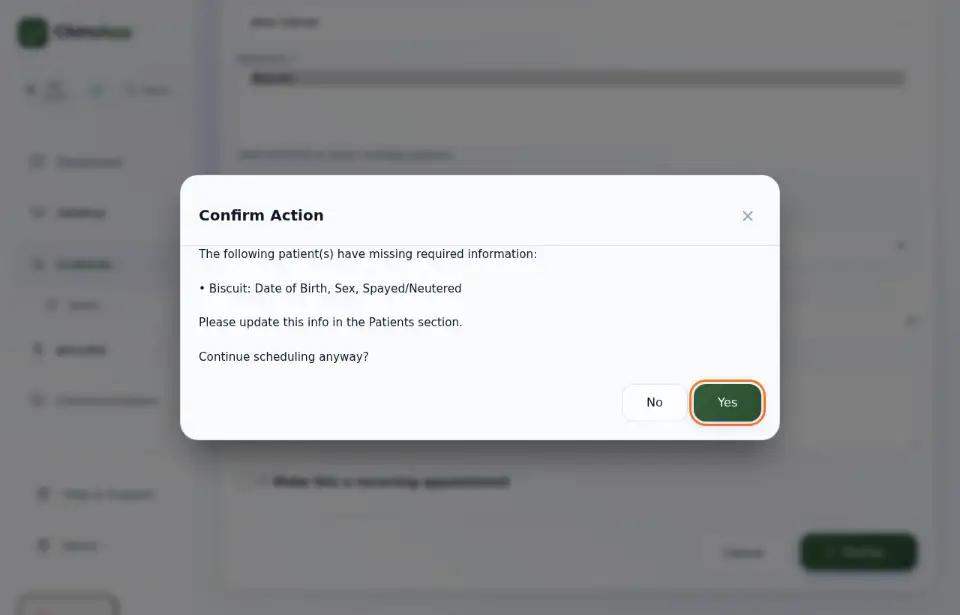
If some patient details are still missing (for an animal this is often the date of birth, sex and spayed/neutered status), ChiroApp asks Continue scheduling anyway? Press Yes to book now, or No to go back and add them first.
ChiroApp shows Appointment scheduled. The visit is now in the list under Upcoming, with buttons to Create Note, Create Invoice and Complete when the visit is done. Press Calendar to see it on the calendar.