Help Center Getting started
Write and sign a visit note
Write the visit note (or let Echo draft it), then sign it.
You need a saved signature before you can sign notes: see Set up your practice (Doctor Signature).
Human practice
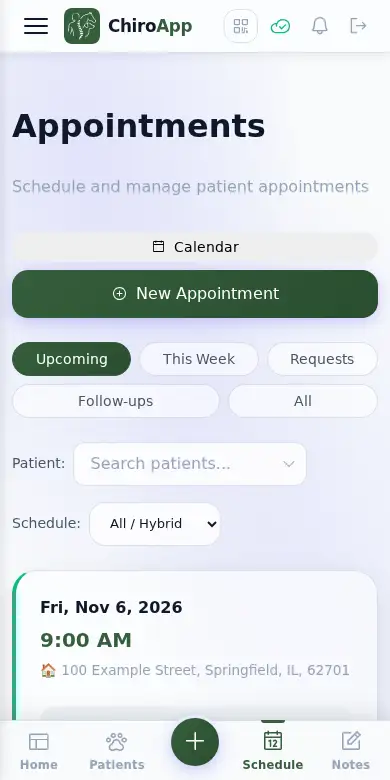
In the menu, open Clinical, then Appointments.
On a phone On a phone, tap the menu button (three lines) at the top left first.
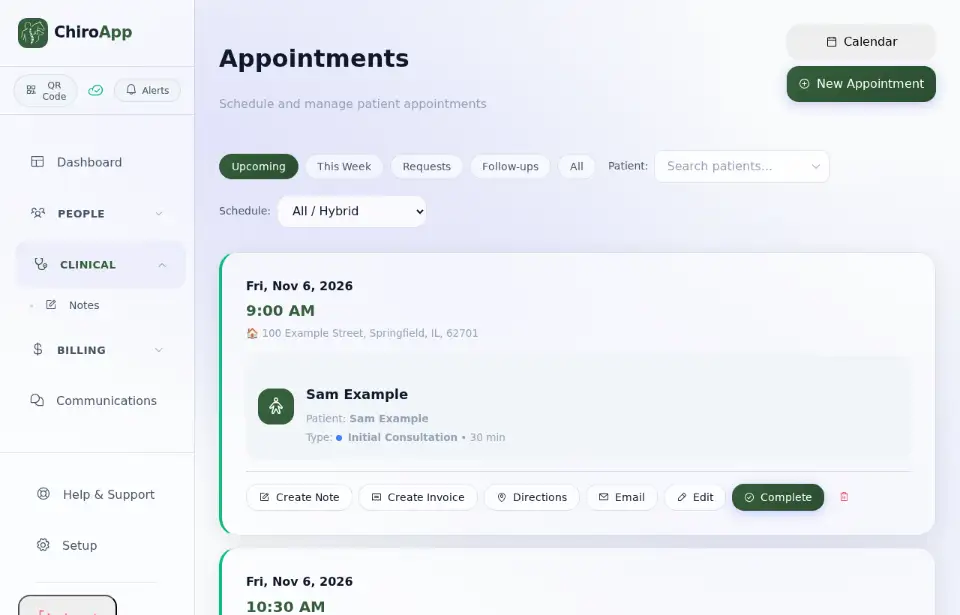
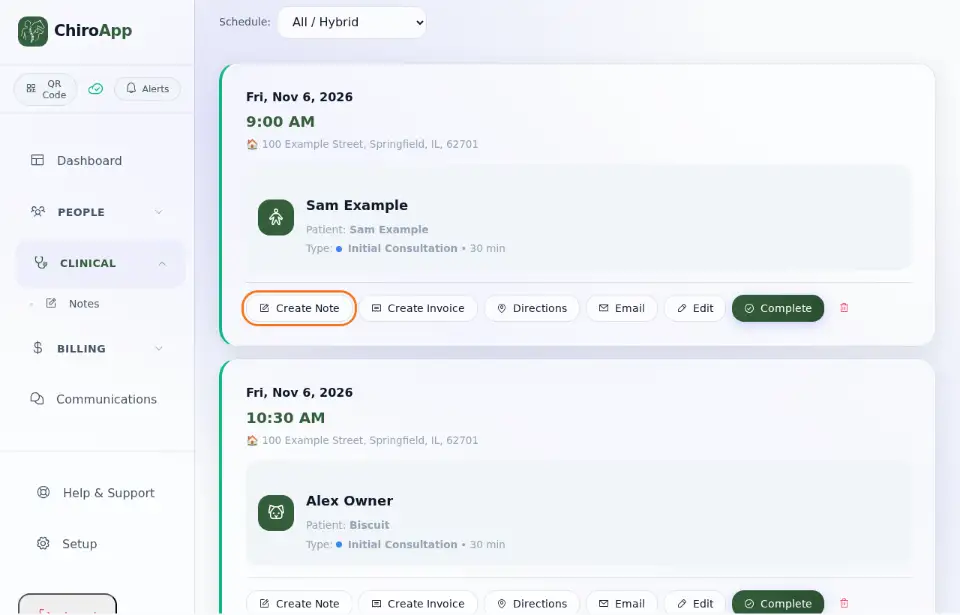
On the patient's appointment, press Create Note.
The note opens for that patient and visit. Under General Info, check the Patient, Date and Visit Type.
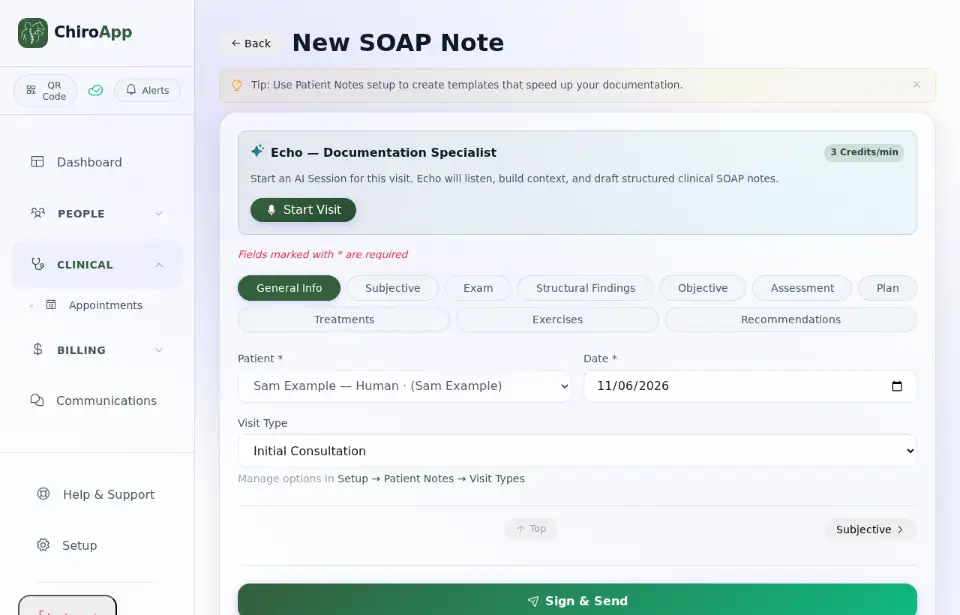
To let Echo, the ambient AI scribe, draft the note, press Start Visit when the visit begins (allow the microphone when your browser asks). Echo listens while you work; use Pause Listening for private moments. Press End Visit when you are done: Echo writes its draft into the note sections. Echo uses AI credits (the price per minute is shown on the Echo card).
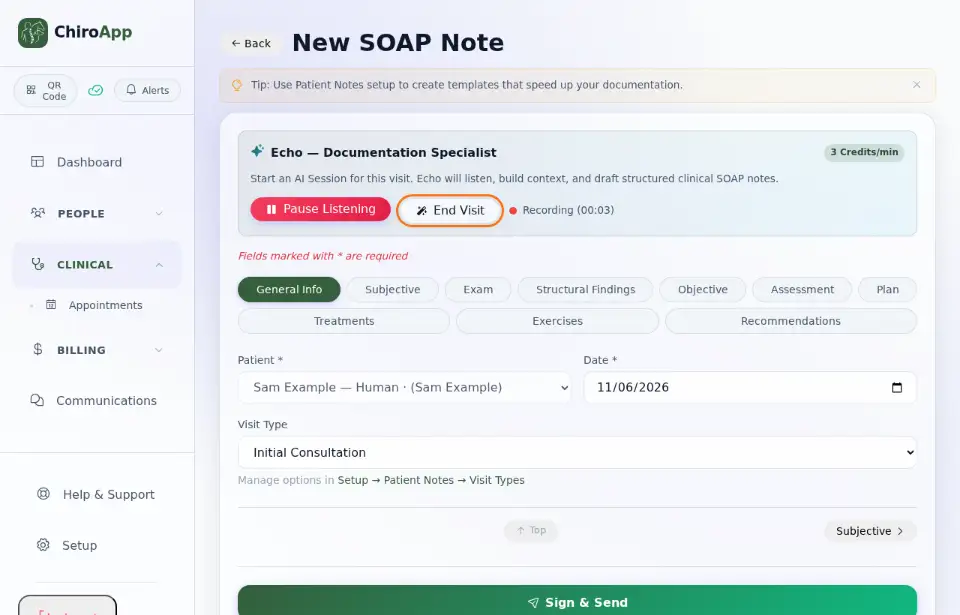
Read and edit every section before you sign: use the tabs Subjective, Exam, Structural Findings, Objective, Assessment, Plan, Treatments, Exercises and Recommendations. You can also write the whole note yourself without Echo.
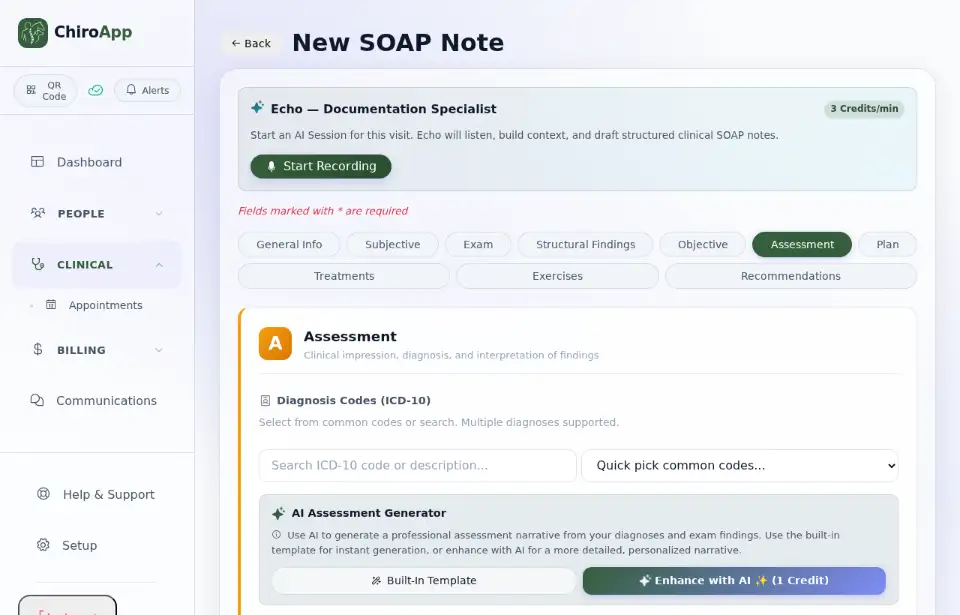
When the note is right, press Sign & Create: ChiroApp signs the note with your saved signature and opens a New Invoice for the visit (see Invoices and payments). Save & close keeps the note unsigned so you can finish it later (an unsigned note is also saved automatically as you type); Sign & Send signs it and emails it to the client.
![Screenshot for step 6: When the note is right, press Sign & Create: ChiroApp signs the note with your saved signature and opens a New Invoice for the visit (see [[invoices-a](/js/releases/1663/35a45aecac19dd9ad544f3c49a07c7c1bdc4f02c/assets/help/img/write-and-sign-a-note-human-6.webp)
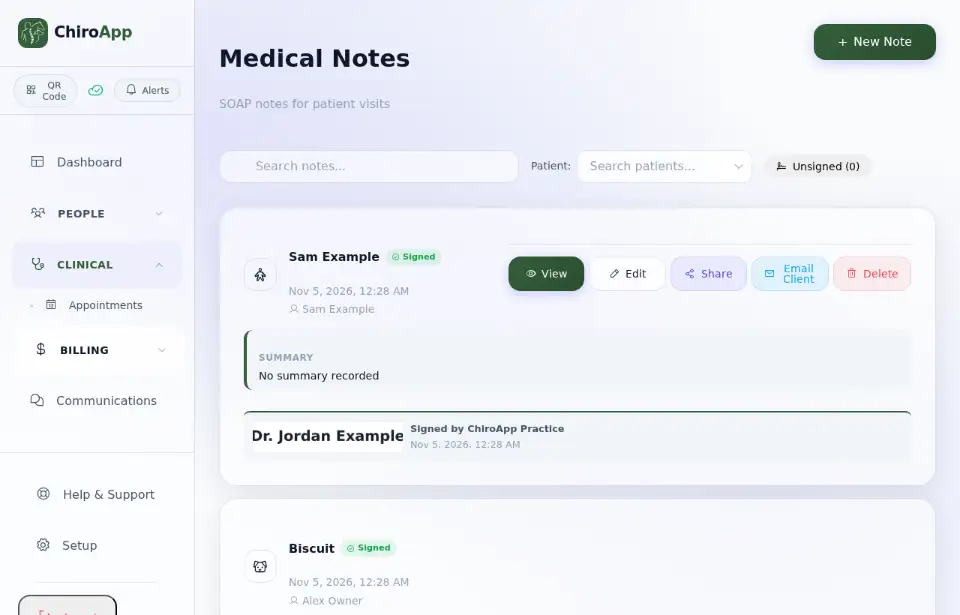
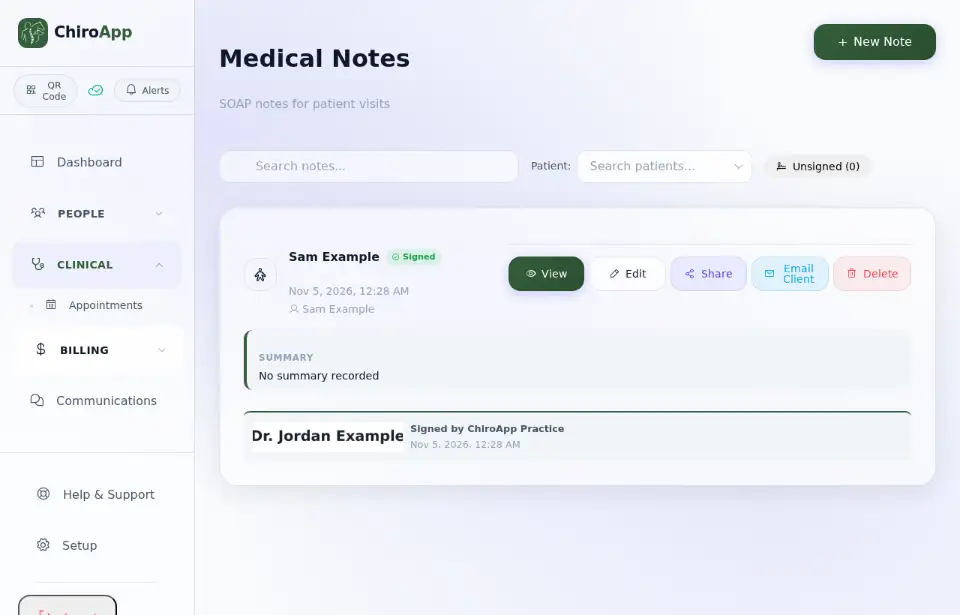
The note is now in Clinical > Notes, marked Signed. Use View to read it or Share to share it.
Animal practice
In the menu, open Clinical, then Appointments.
On a phone On a phone, tap the menu button (three lines) at the top left first.
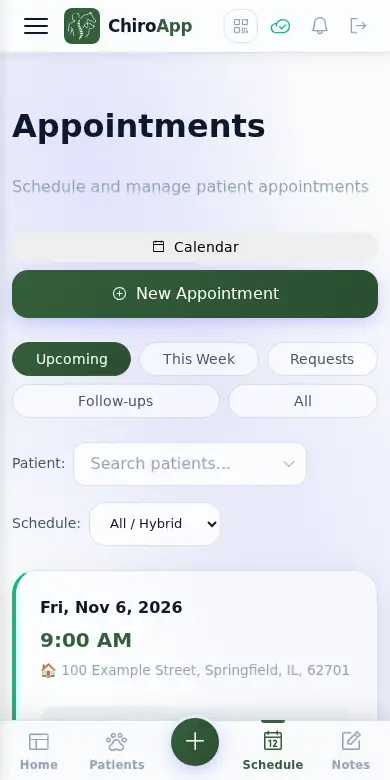
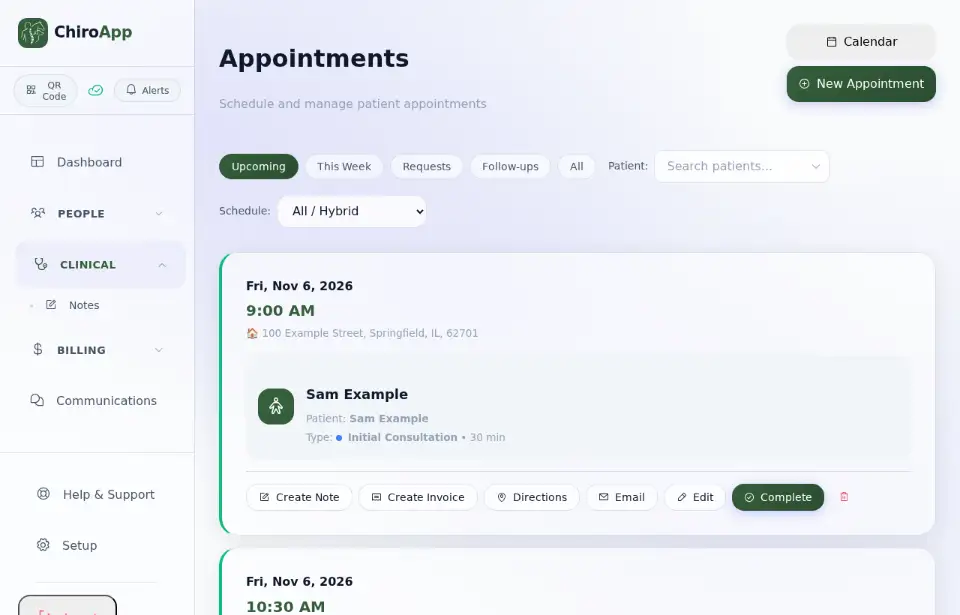
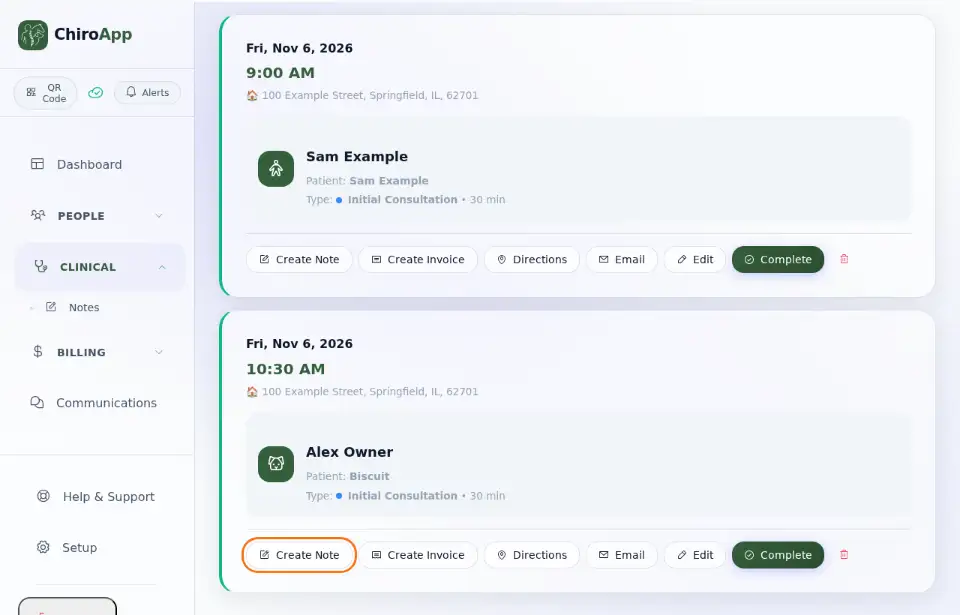
On the patient's appointment, press Create Note.
The note opens for that patient and visit. Under General Info, check the Patient, Date and Visit Type.
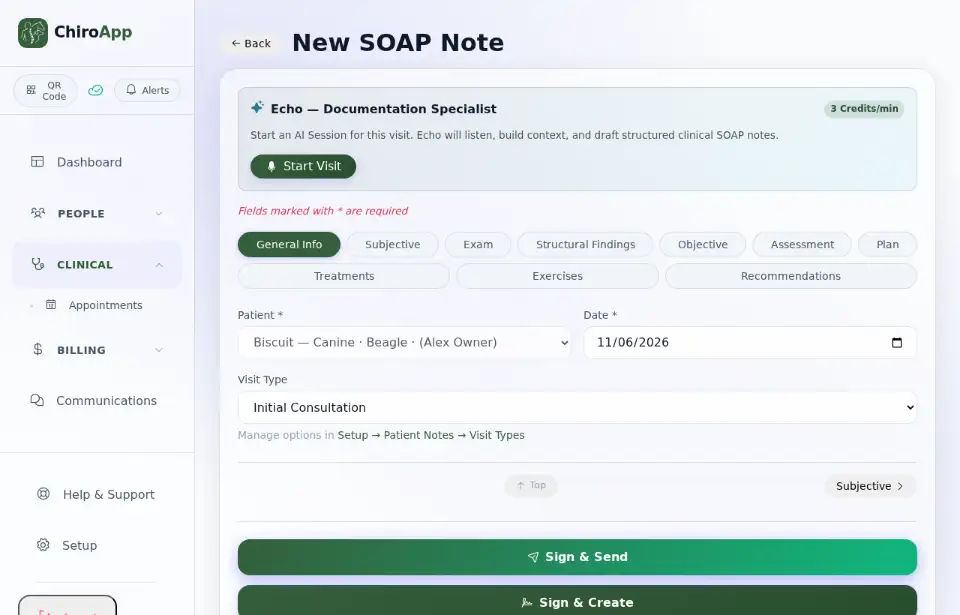
To let Echo, the ambient AI scribe, draft the note, press Start Visit when the visit begins (allow the microphone when your browser asks). Echo listens while you work; use Pause Listening for private moments. Press End Visit when you are done: Echo writes its draft into the note sections. Echo uses AI credits (the price per minute is shown on the Echo card).
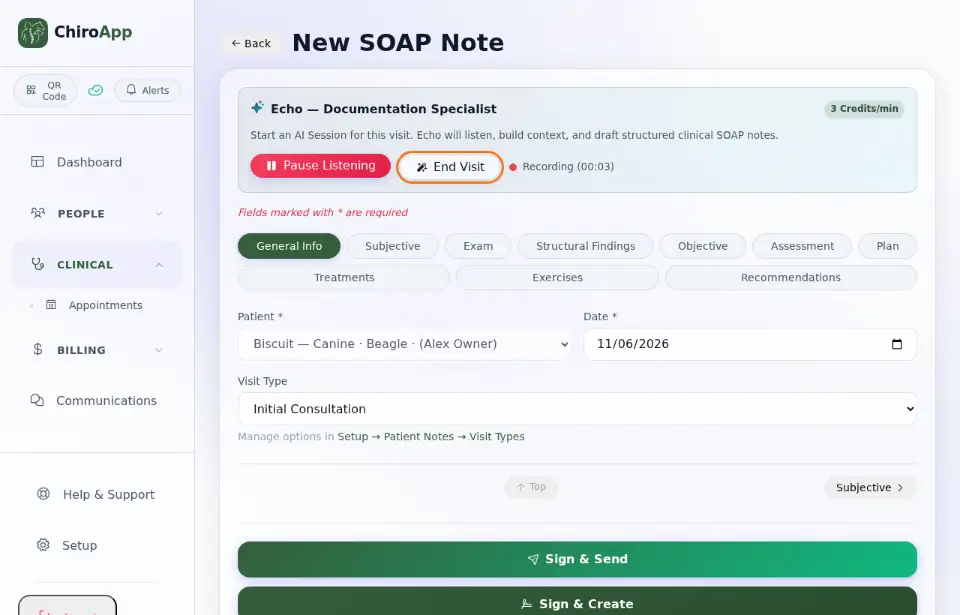
Read and edit every section before you sign: use the tabs Subjective, Exam, Structural Findings, Objective, Assessment, Plan, Treatments, Exercises and Recommendations. You can also write the whole note yourself without Echo.
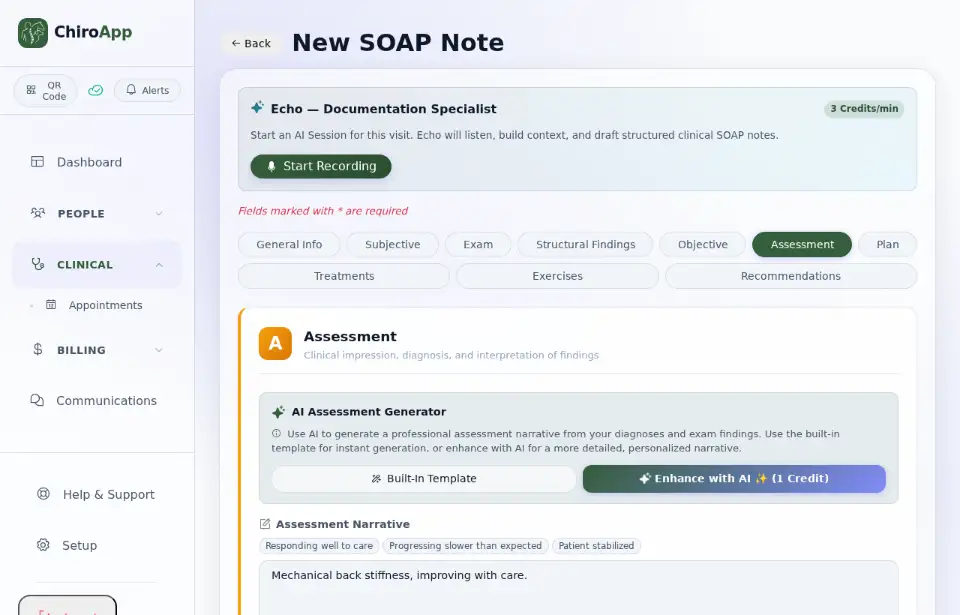
When the note is right, press Sign & Create: ChiroApp signs the note with your saved signature and opens a New Invoice for the visit (see Invoices and payments). Save & close keeps the note unsigned so you can finish it later (an unsigned note is also saved automatically as you type); Sign & Send signs it and emails it to the client.
![Screenshot for step 6: When the note is right, press Sign & Create: ChiroApp signs the note with your saved signature and opens a New Invoice for the visit (see [[invoices-a](/js/releases/1663/35a45aecac19dd9ad544f3c49a07c7c1bdc4f02c/assets/help/img/write-and-sign-a-note-animal-6.webp)
The note is now in Clinical > Notes, marked Signed. Use View to read it or Share to share it.