Help Center Getting started
Invoices and payments
Create an invoice for a visit and record how it was paid.
An invoice lists what you charged for one client, and the payments against it. The quickest way is from a signed note: Sign & Create opens a new invoice for that visit.
Human practice
In the menu, open Billing, then Invoices.
On a phone On a phone, tap the menu button (three lines) at the top left first.
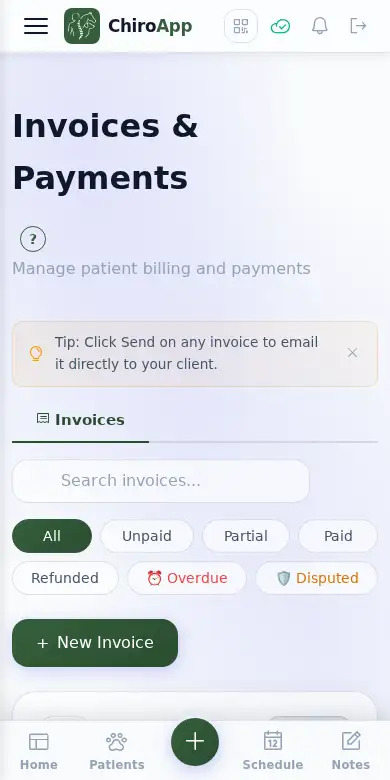
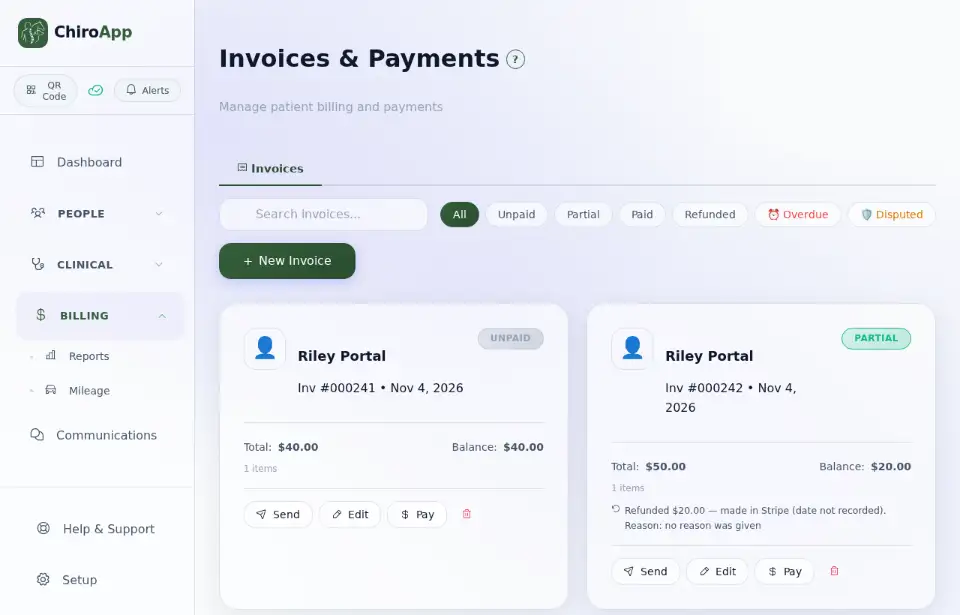
Press New Invoice. (After signing a note with Sign & Create, ChiroApp opens this screen for you.)
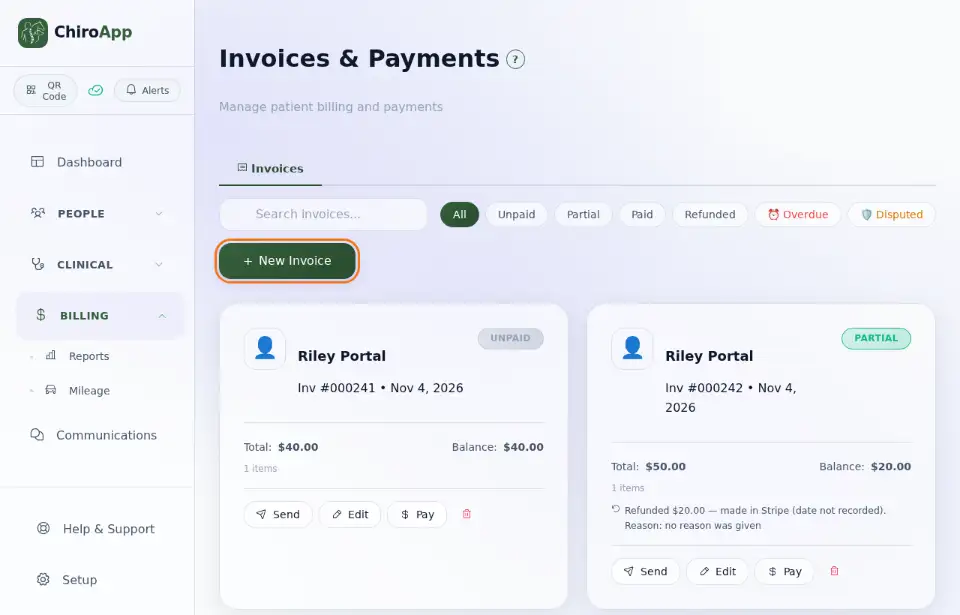
Leave Financial Origin on Encounter (Clinical Visit) for a visit. Under Client, type the first letters of the client's name and choose them. Check the Date.
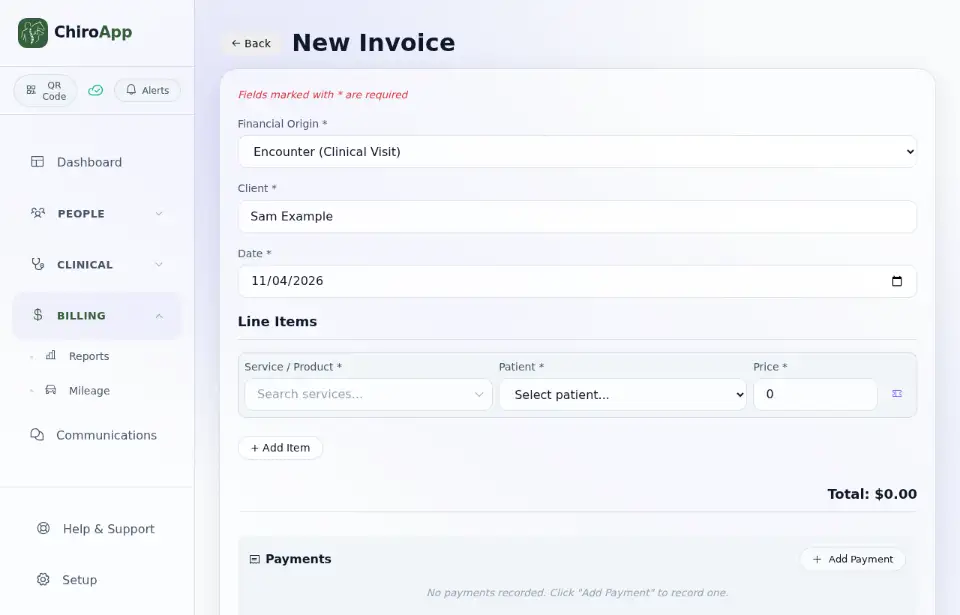
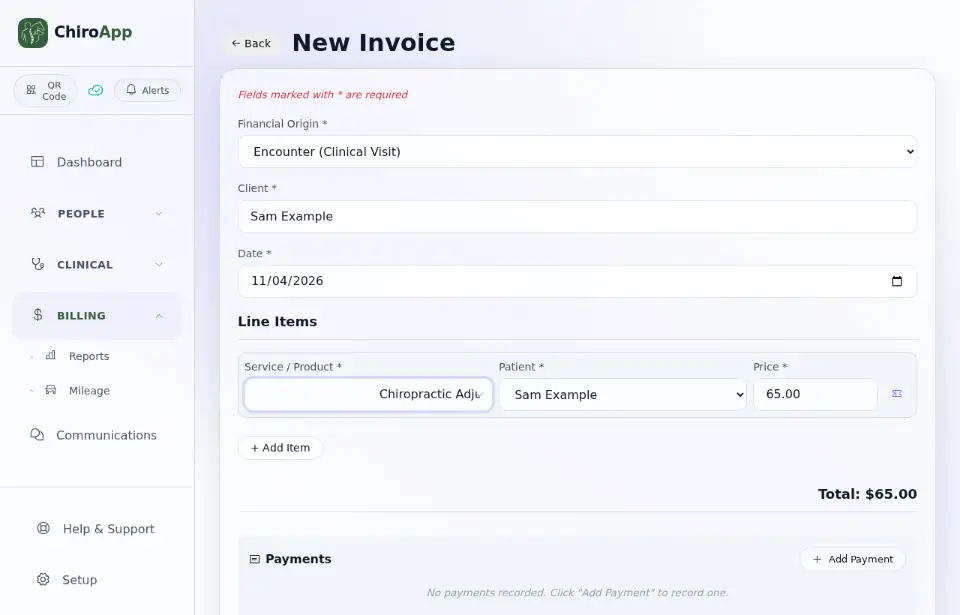
Under Line Items, choose the Service / Product and the Patient; the Price fills in from your service list. Press + Add Item for more lines.
If the client pays now, press Add Payment and fill in the Amount ($), the Method and the Date. Leave it out if they will pay later.
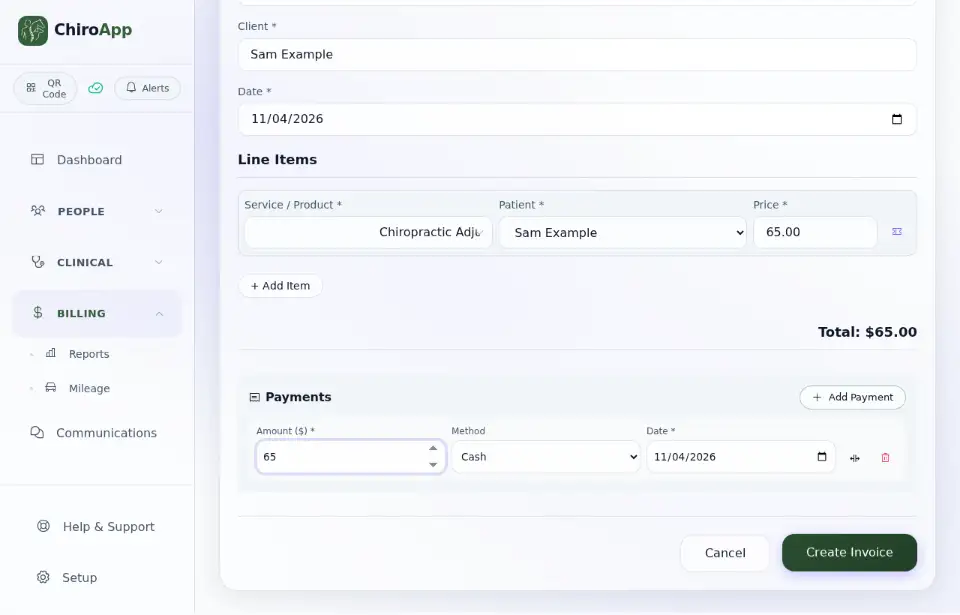
Press Create Invoice. The invoice is listed under Invoices with its status (Paid, Unpaid or Partial). Send emails it to the client.
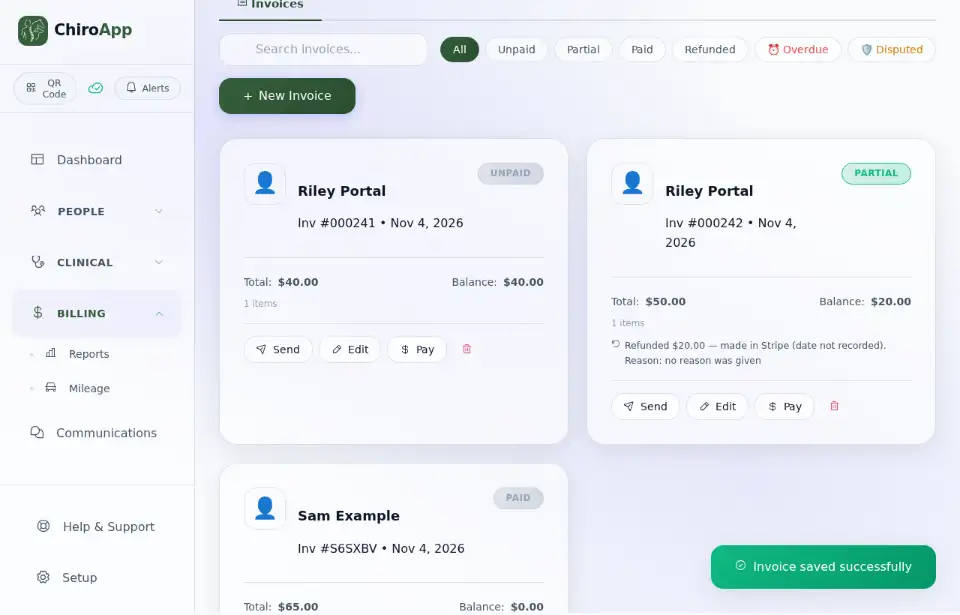
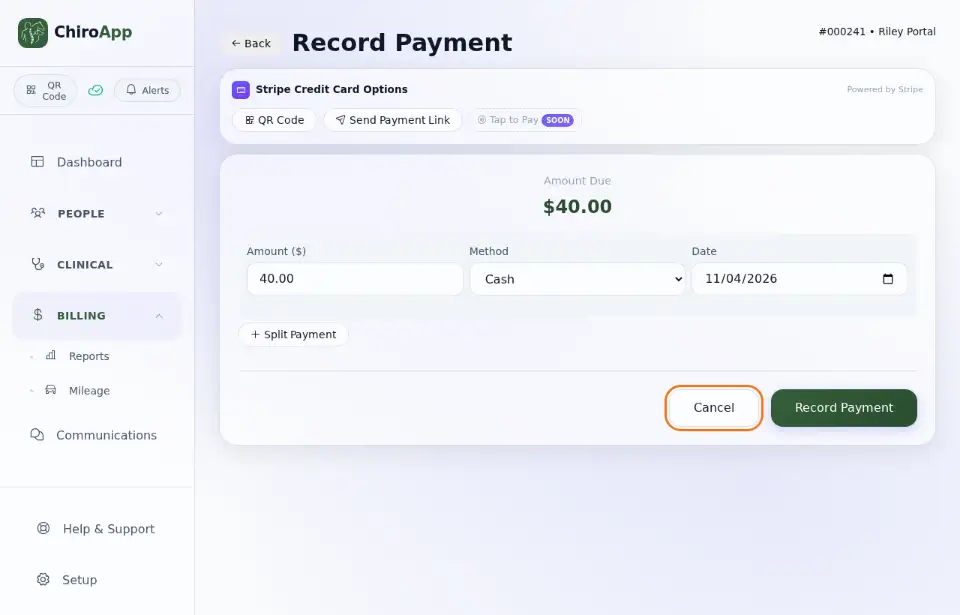
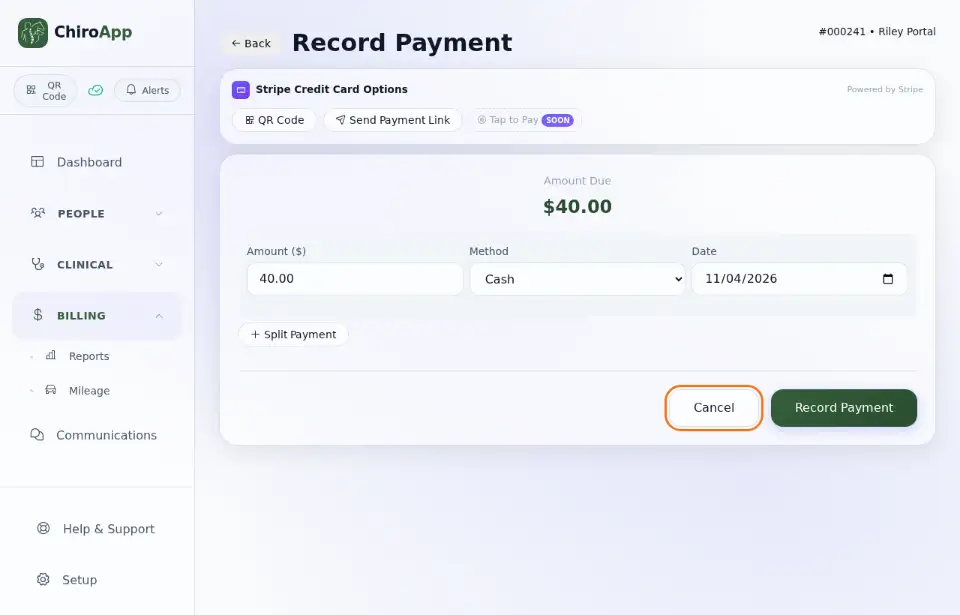
To record a payment later, press Pay on the invoice. Fill in the Amount ($), Method and Date and press Record Payment. (When card payments are on, this screen also offers card options: see Take card payments (Stripe).)
Animal practice
In the menu, open Billing, then Invoices.
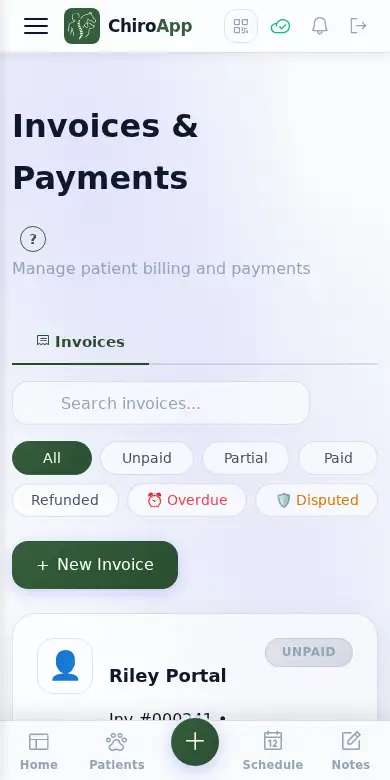
On a phone On a phone, tap the menu button (three lines) at the top left first.
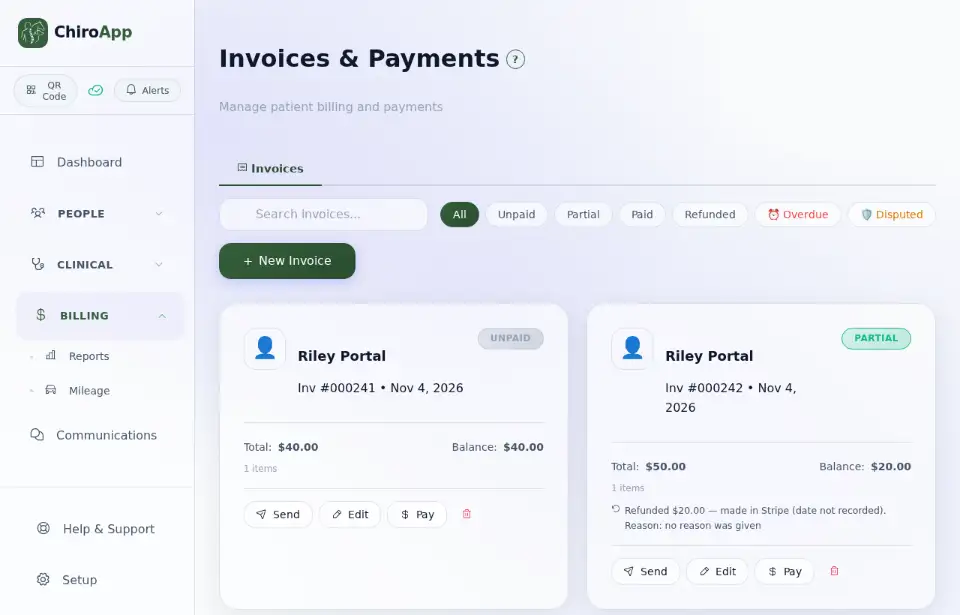
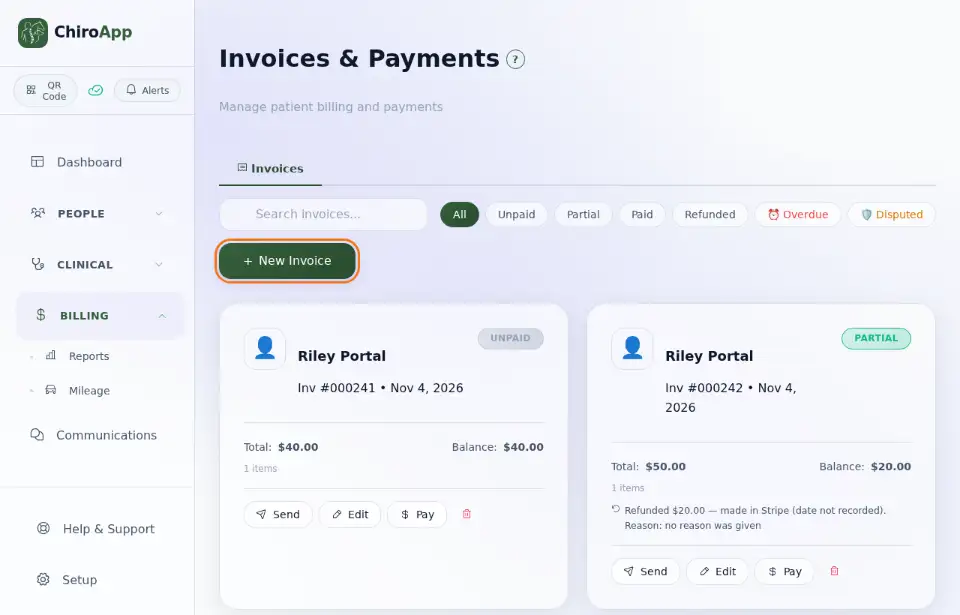
Press New Invoice. (After signing a note with Sign & Create, ChiroApp opens this screen for you.)
Leave Financial Origin on Encounter (Clinical Visit) for a visit. Under Client, type the first letters of the client's name and choose them. Check the Date.
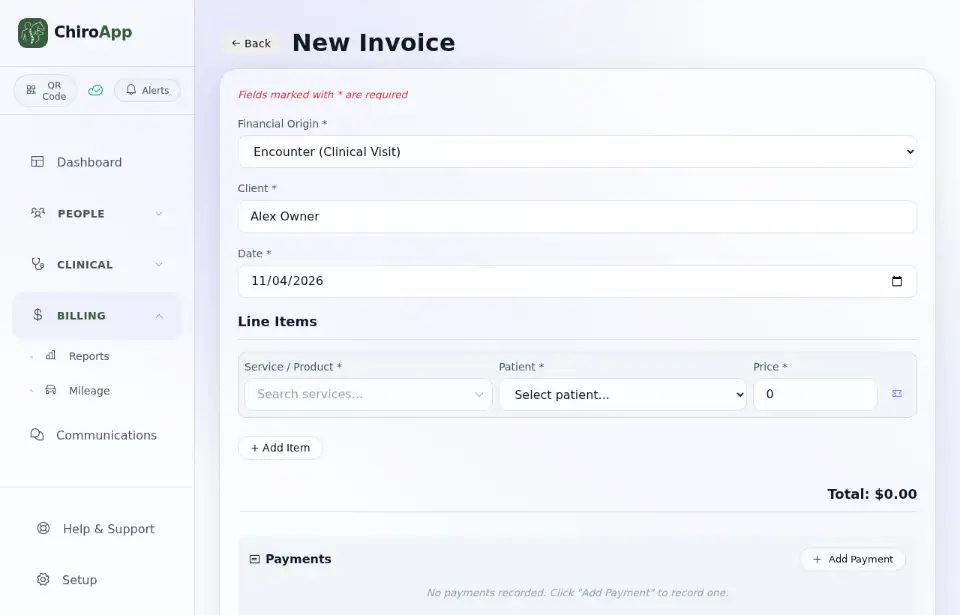
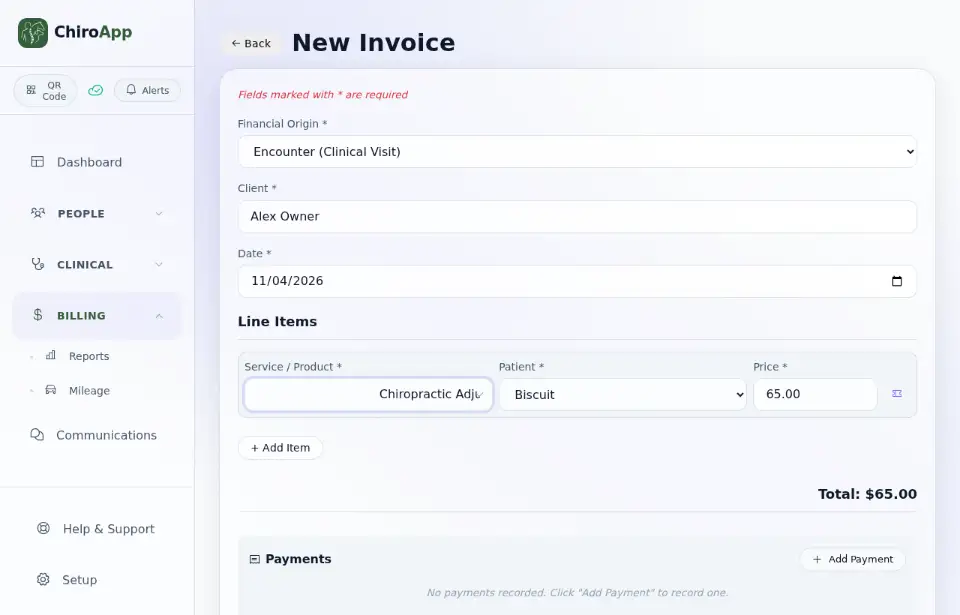
Under Line Items, choose the Service / Product and the Patient; the Price fills in from your service list. Press + Add Item for more lines.
If the client pays now, press Add Payment and fill in the Amount ($), the Method and the Date. Leave it out if they will pay later.
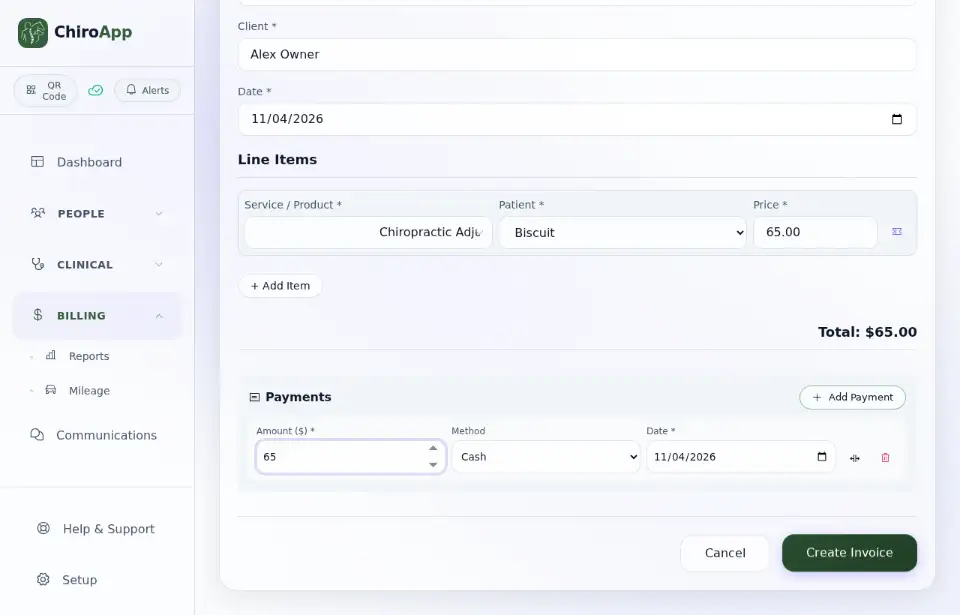
Press Create Invoice. The invoice is listed under Invoices with its status (Paid, Unpaid or Partial). Send emails it to the client.
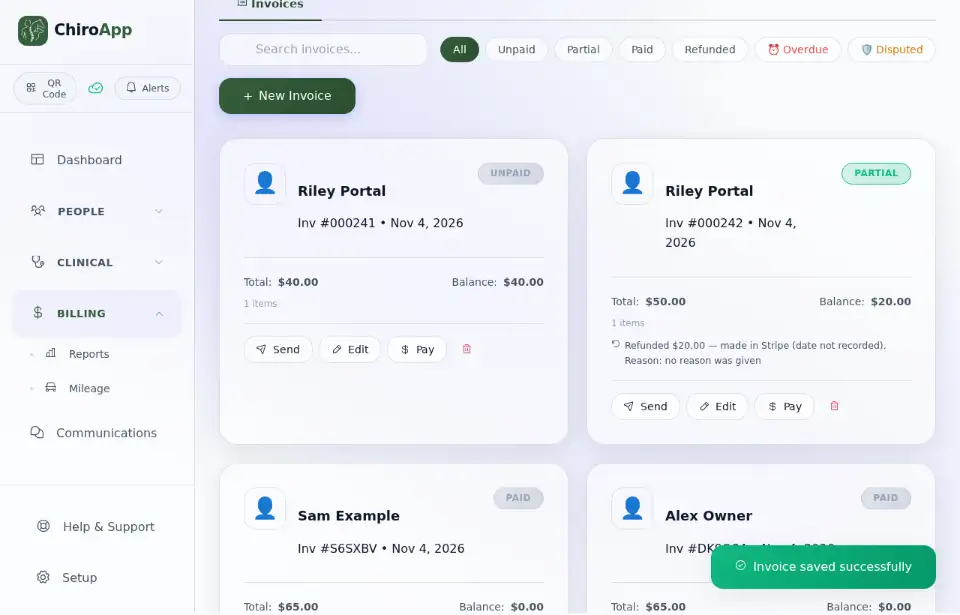
To record a payment later, press Pay on the invoice. Fill in the Amount ($), Method and Date and press Record Payment. (When card payments are on, this screen also offers card options: see Take card payments (Stripe).)