Help Center Getting started
Text messages and appointment reminders
Set up texting for your practice and turn on automatic appointment reminders.
Texting needs a little one-time setup, then appointment reminders go out by themselves. You choose which reminders use email, text or a push notification.
In the menu, open Setup.
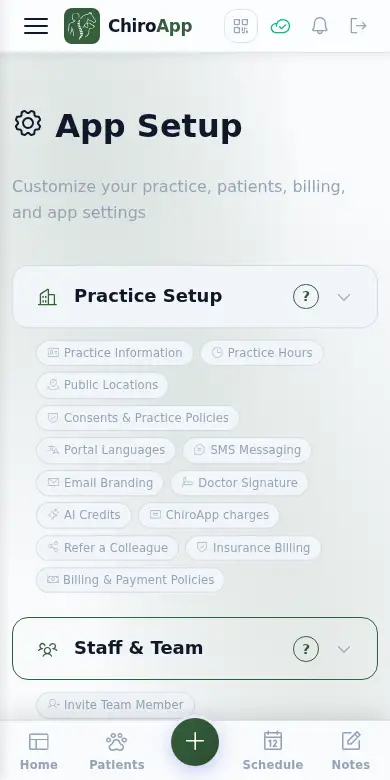
On a phone On a phone, tap the menu button (three lines) at the top left first. Setup is near the bottom of the menu.
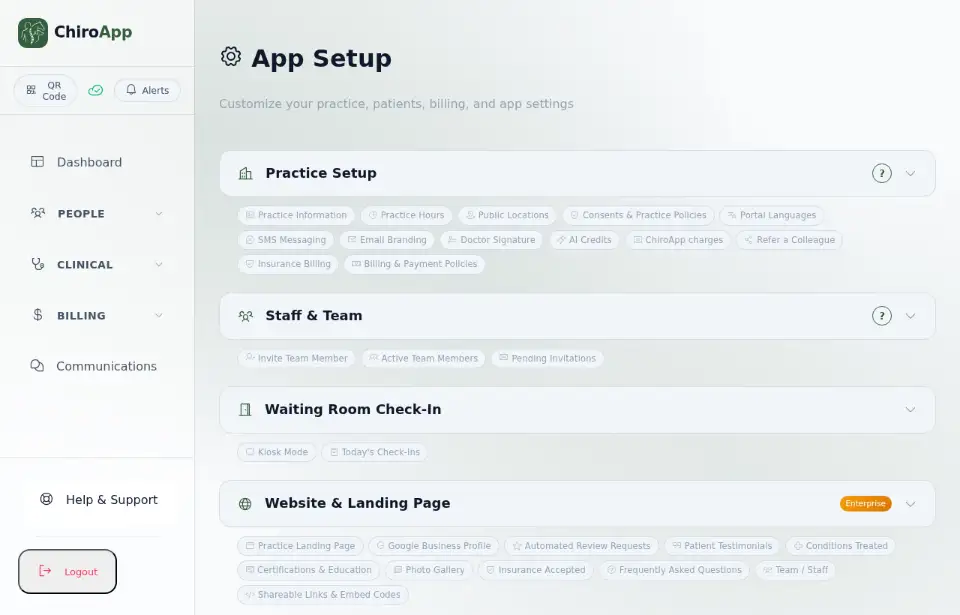
Open Practice Setup, find the SMS Messaging card and tick Enable SMS Messaging for your practice. Texts are charged per segment from your text wallet; the Pricing Note on the card explains the details and links to the Terms.
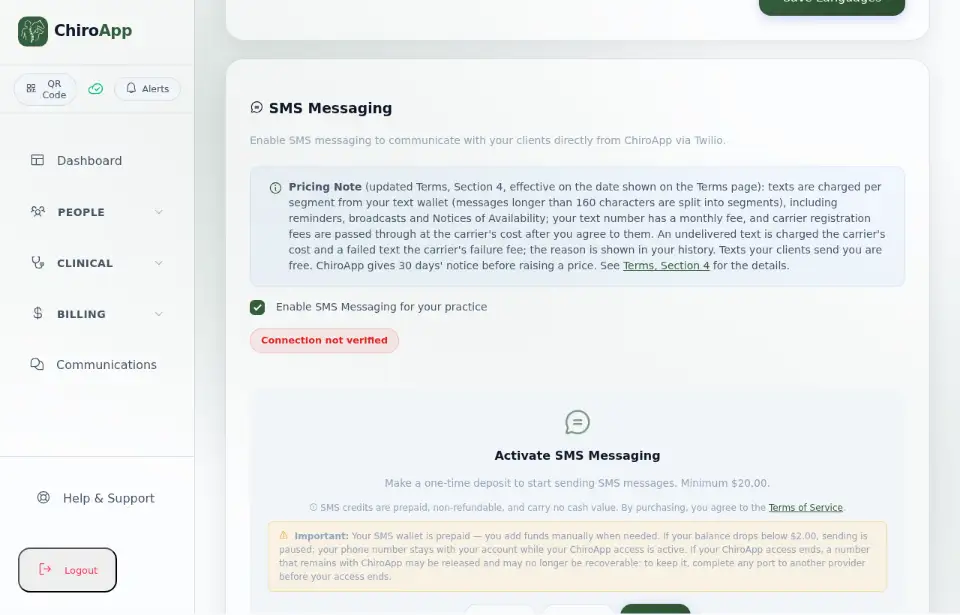
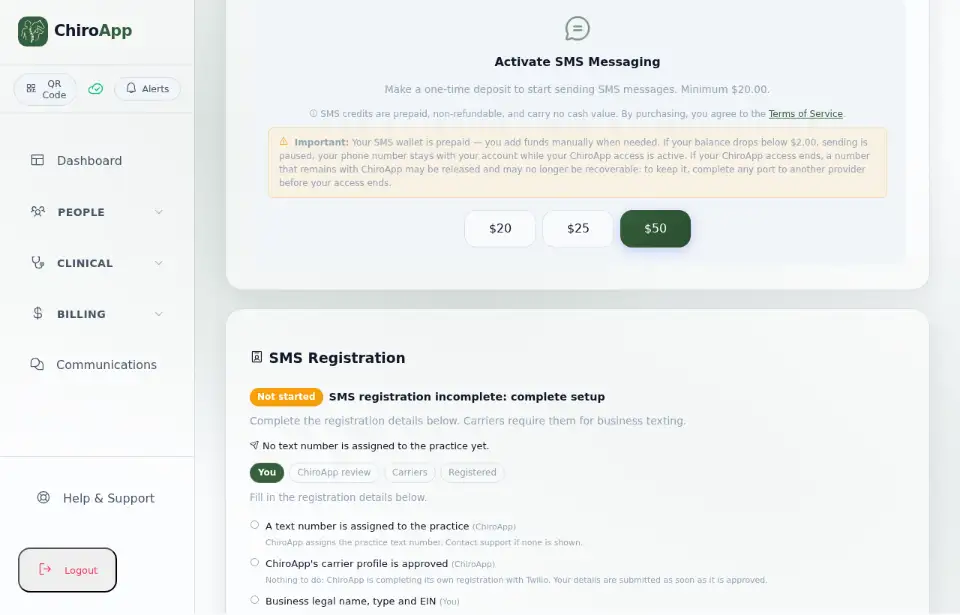
The card then shows Activate SMS Messaging. Texting runs on a prepaid wallet: make a one-time deposit (minimum $20.00; choose $20, $25 or $50) to start sending. If the balance drops below $2.00, sending pauses until you add funds. Nothing is charged until you make a deposit.
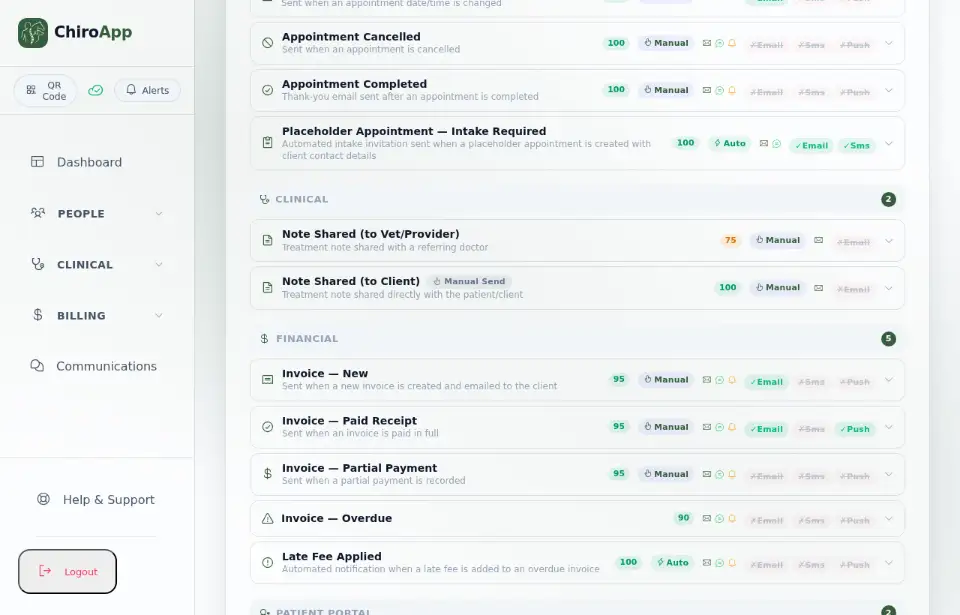
On the Setup page, open Notifications, then Communication Center. It lists every message ChiroApp sends for you. Press Appointment Reminder to open it: ChiroApp sends it automatically 24 hours and 1 hour before an appointment. (In a practice that treats animals, the event is named Appointment Reminder (Veterinary).)
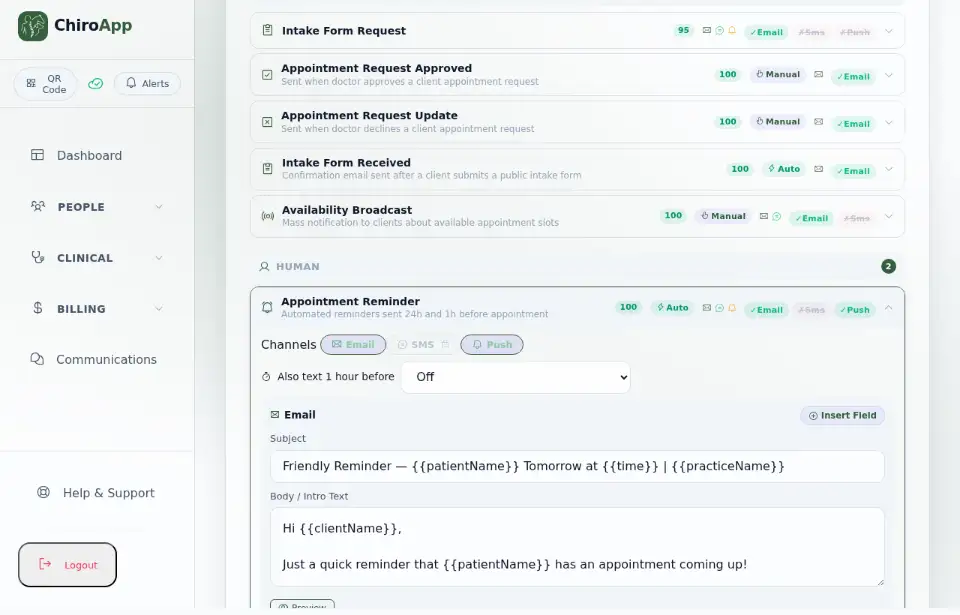
Under Channels, switch each way of reaching the client on or off: Email, SMS and Push. Email and push are on to begin with; SMS needs texting to be activated first (above). Each channel has its own wording that you can edit, with Insert Field to add the client's name or appointment time. Preview shows the result, and Reset to Default brings the original wording back.
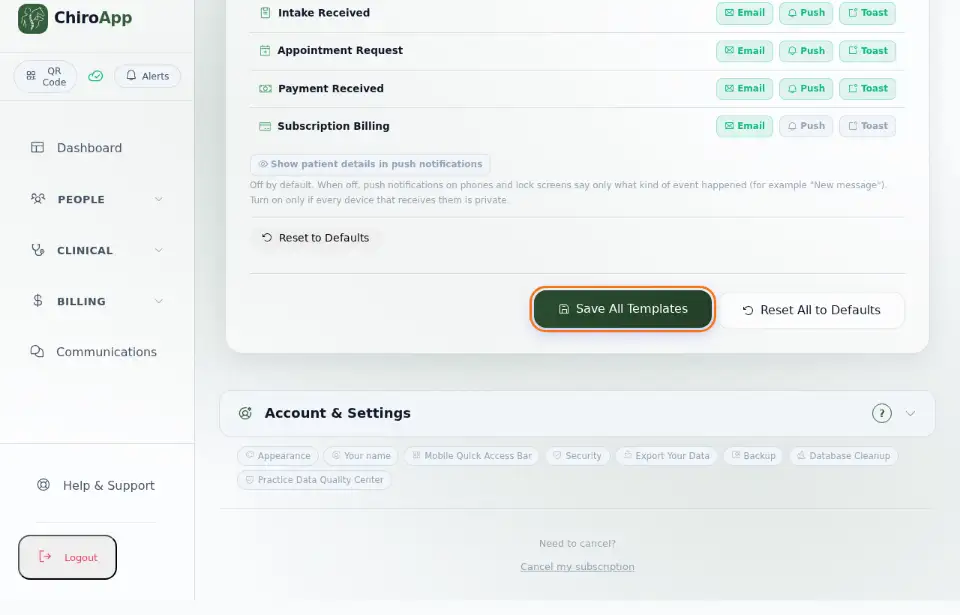
Press Save All Templates at the bottom of the card. View History on an event lists what was sent and when.